Two and a half years between blog posts isn’t so bad, is it? (I’ll keep telling myself that).
Hello, my sweet friends! Welcome to my BRAND NEW WEBSITE! Do you love it as much as I do? Please take a moment to poke around! I am so excited for the new look of Cassie’s Confections and hope it is as pleasing to your eyes as it is to mine.
The timing is wonderful, as I have a fantastic cake to share with you all today!
You may or may not have seen this little teaser that I posted on social media last week:
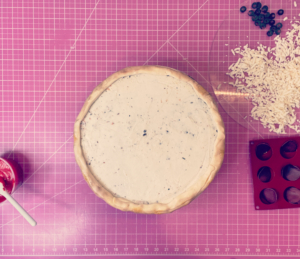
Indeed, I was making a pizza. But don’t let the taste of cheesy, meaty, tomato-y goodness start to fill your mind and your mouth… this pizza was made entirely of cake and sugar!
I am a true pizza lover, just like the little boy I created it for (my son), but I have to say that I was not one bit disappointed as I bit into this deliciousness. I have often found that cakes resembling food or other objects are not quite as tasty, as they are created using tons of fondant and other decorating items from the cake world, and less of cake. But this was *delicious*! It’s a win!
I think we all love a good food cake. Take this one for example, by the talented Laura Loukaides.

AMAZING!
So when I decided to take on a food cake, I knew it was going to have to be as realistic looking as possible. When my goal is realism, I definitely don’t pull up images of what other people create. Instead, I use all REAL images of the item I am creating, and sometimes even the actual item itself. I try to use actual objects or tools that would be used in the making of the real item as well, or at least create a similar effect.
I think my final product definitely achieved what I was going for! The most common comment I heard was “it looks so real!”. Mission accomplished.
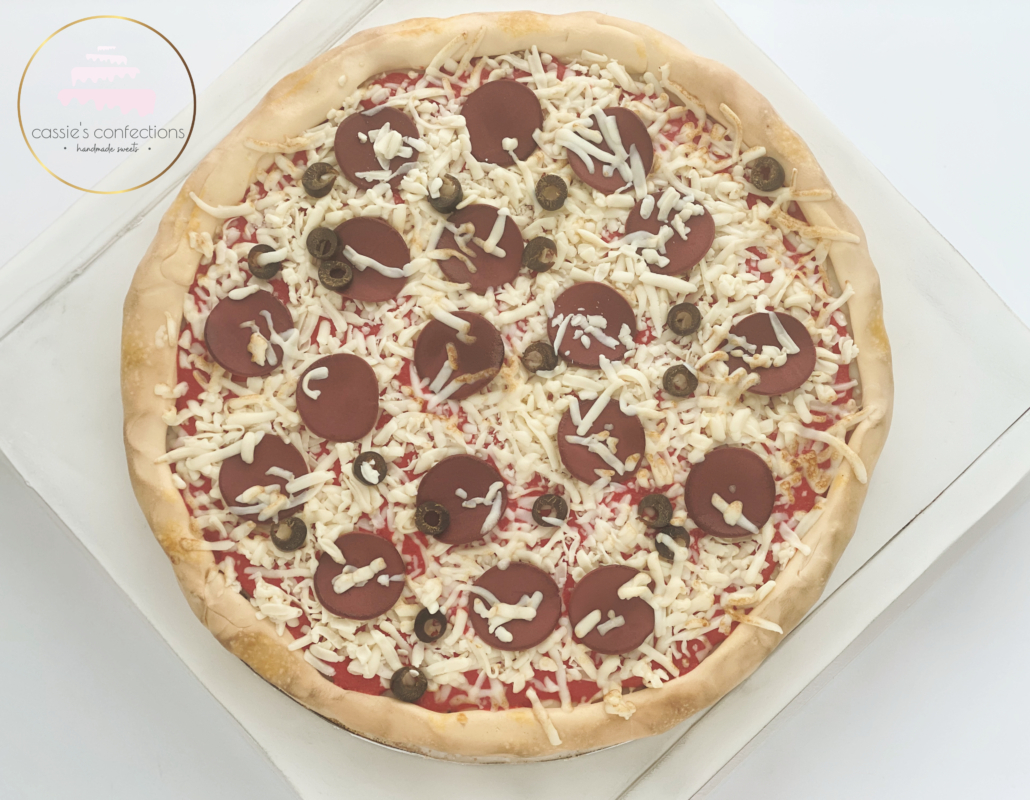
If that doesn’t make you hungry for pizza then I don’t know what will!
The best part about this cake was that, although it was thin enough to look realistic as pizza, it was a thick enough amount of actual cake to be absolutely delicious. The boys devoured it!
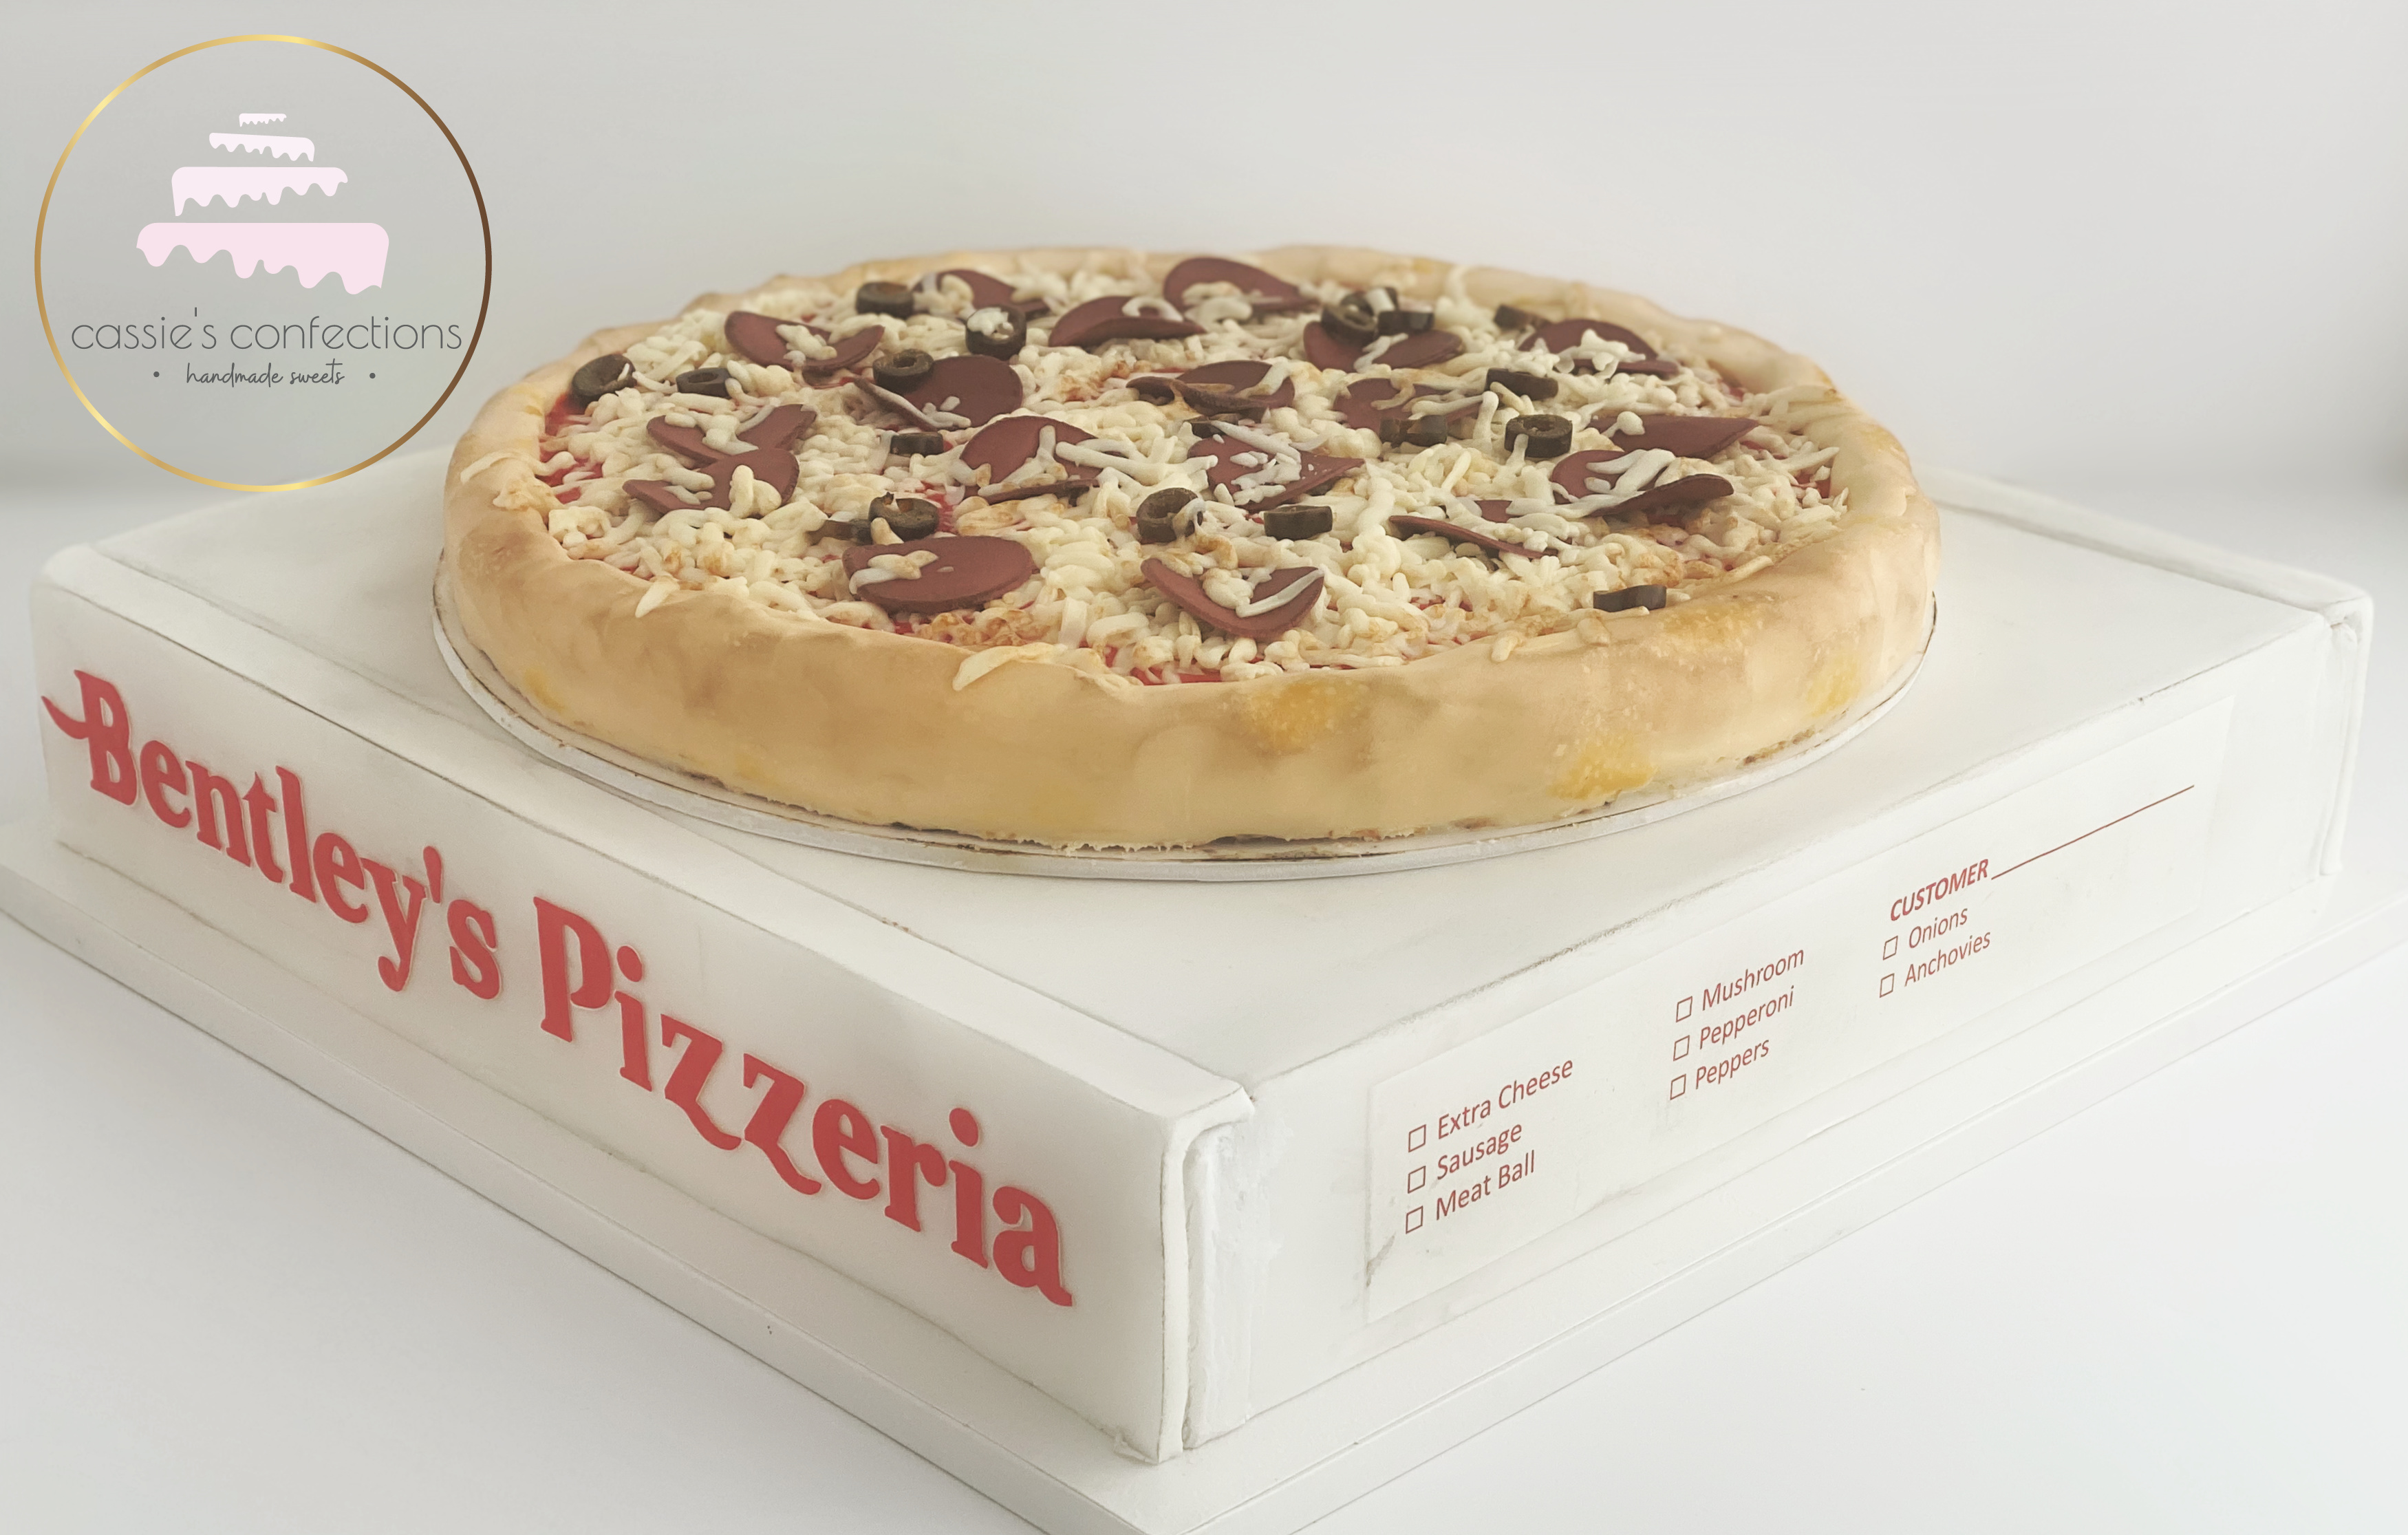
Although the pizza itself was 13″, our party was pretty large, so I decided to make a pizza box cake as well. It included fun touches like the birthday boy’s name and a realistic looking label to select topping choices.
This added such a fun touch to the party! So many people didn’t realize it was cake until it was cutting time. Any idea what sort of tool we might have used to cut the cake?
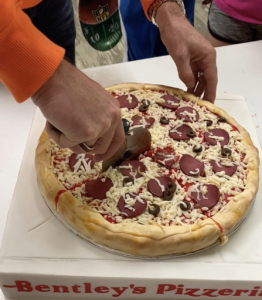
A pizza cutter!
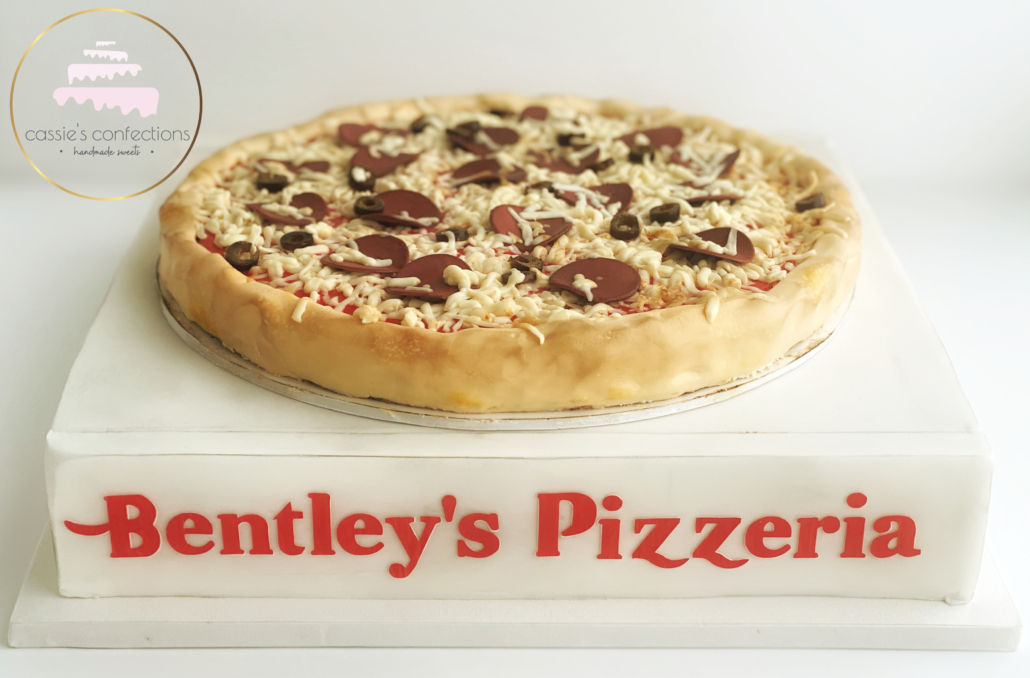
I hope you enjoy this cake! I have created a full tutorial on how to create this simple pizza cake on my YouTube channel. You can also watch it below. 🙂
Thank you so. much for stopping by! Leave me your thoughts in the comment section!
xoxo,
![]()
Tools you may need:
