Posts

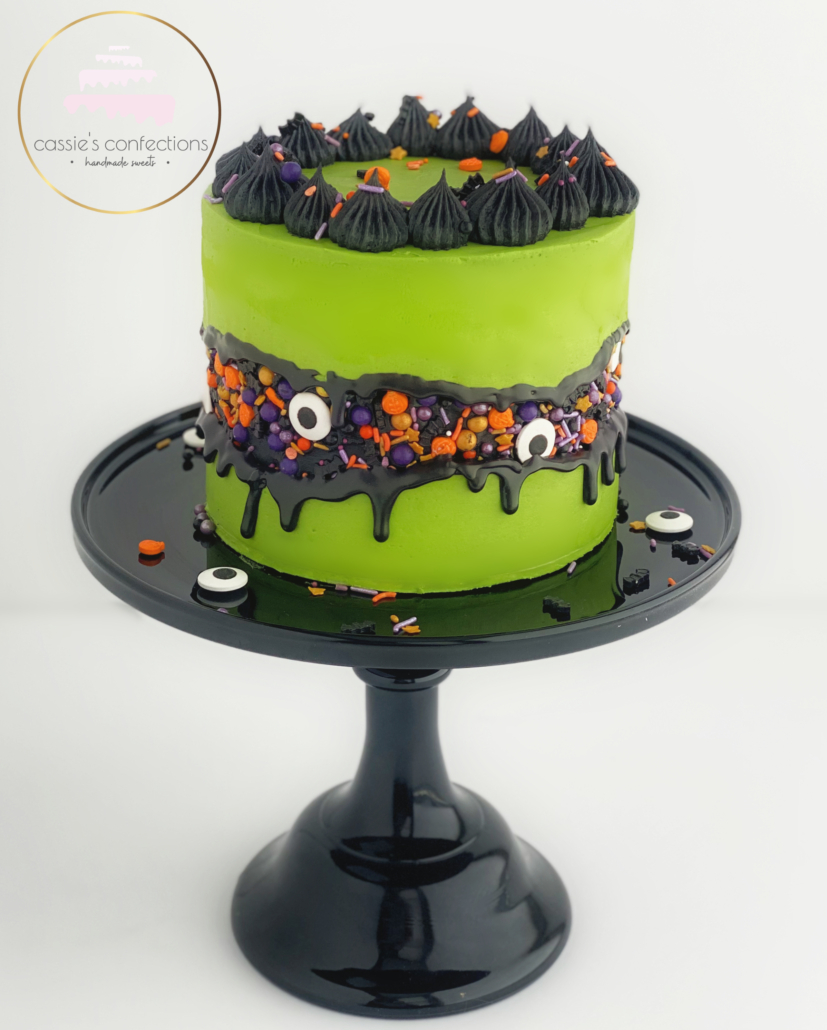
Where are my Halloween lovers? This week I have a super cute and simple Halloween cake for you all!

The plan for this cake began with the fault line cake trend that has been circling lately. As with all new cake trends, I have of course been dying to try this technique! Halloween seemed like the perfect time to do so, and lucky for me, there didn’t seem to be many Halloween theme fault-line cakes out there just yet.

I won’t be lying when I say I was winging it a bit on this cake! I thought, how hard can it be? I know those are famous last words, especially in *my* bakery, but I went for it anyway.
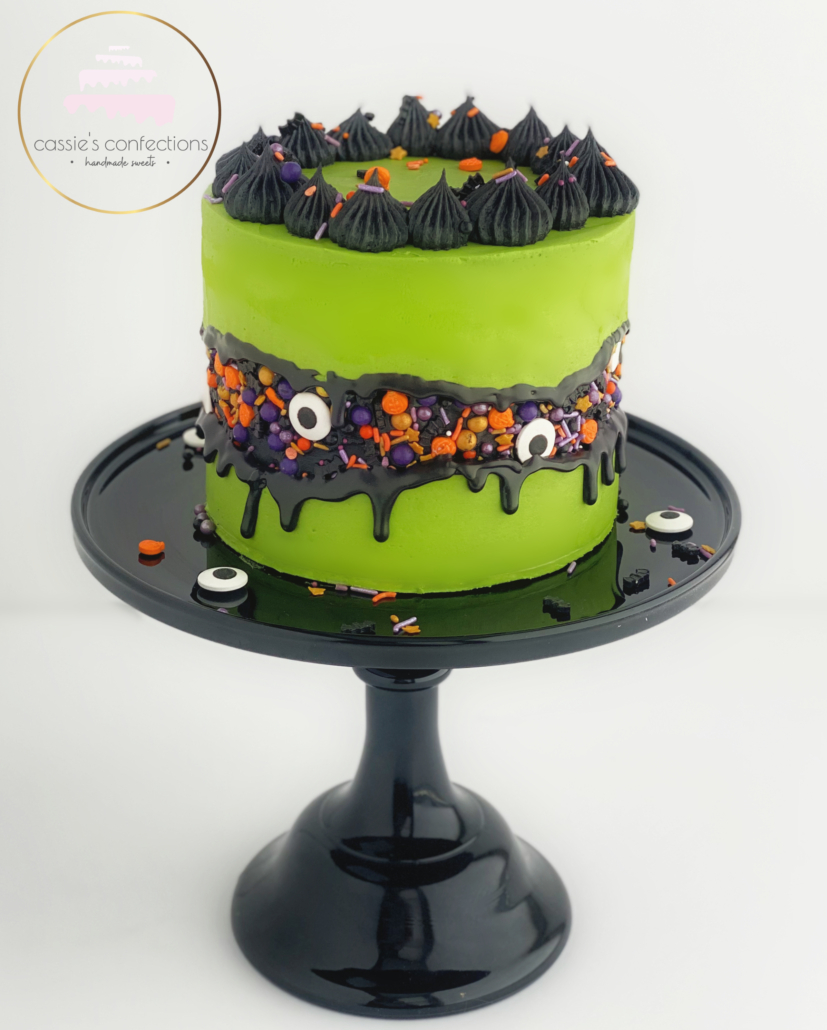
The best part about this cake was that I remembered to take photos along the way so I can share it with you!

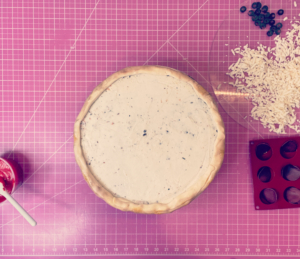
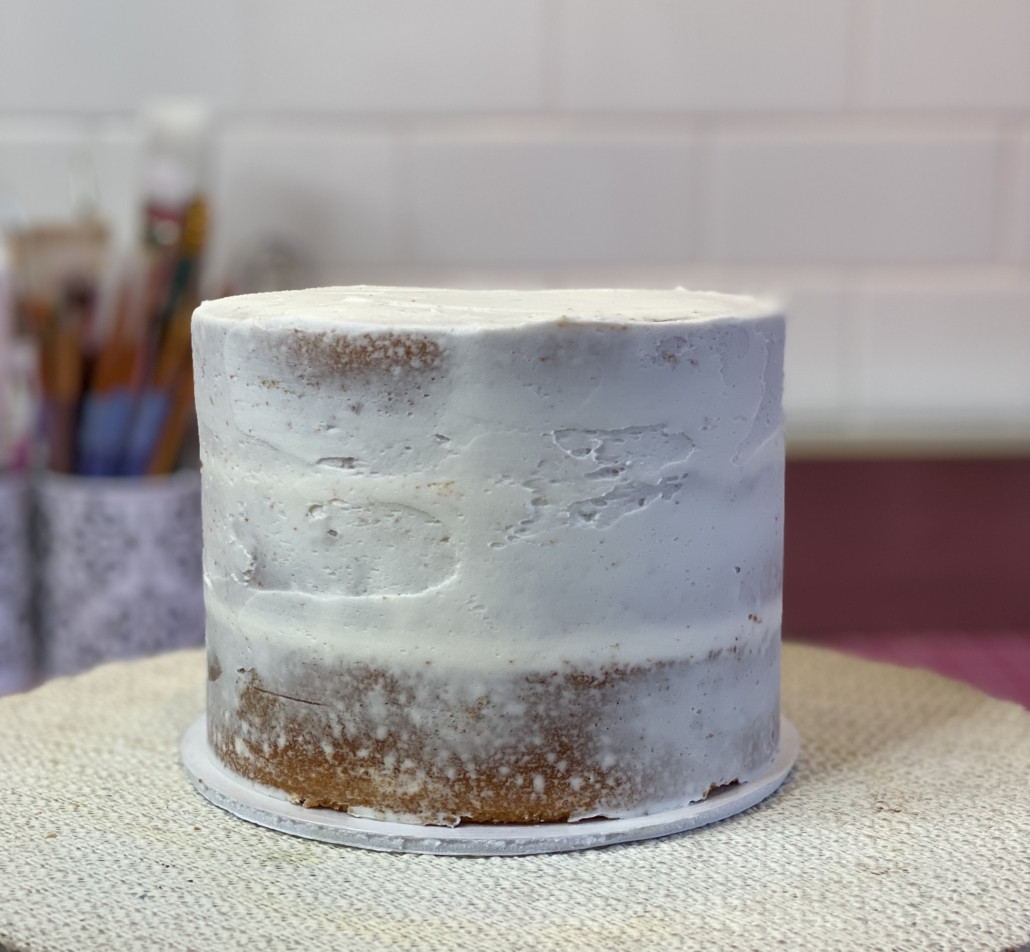
The first step, as always, is to stack and fill your cake. Although I normally don’t feel it necessary, I went ahead and crumb coated this cake as well. After applying the crumb coat, chill the cake for 10-15 minutes.
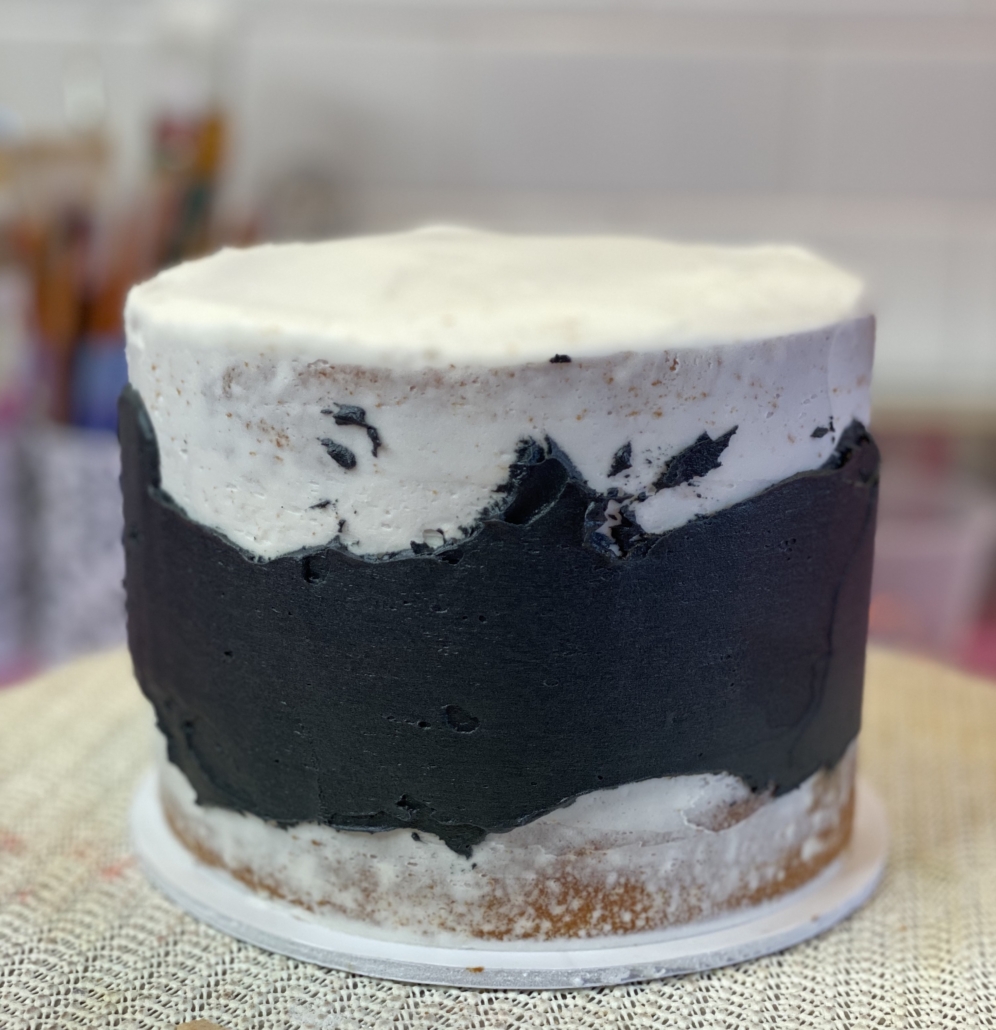
Using an offset spatula, apply a thin layer of black royal icing around the center of the cake. I used a bench scraper to smooth the line as thin as possible without exposing the cake underneath.
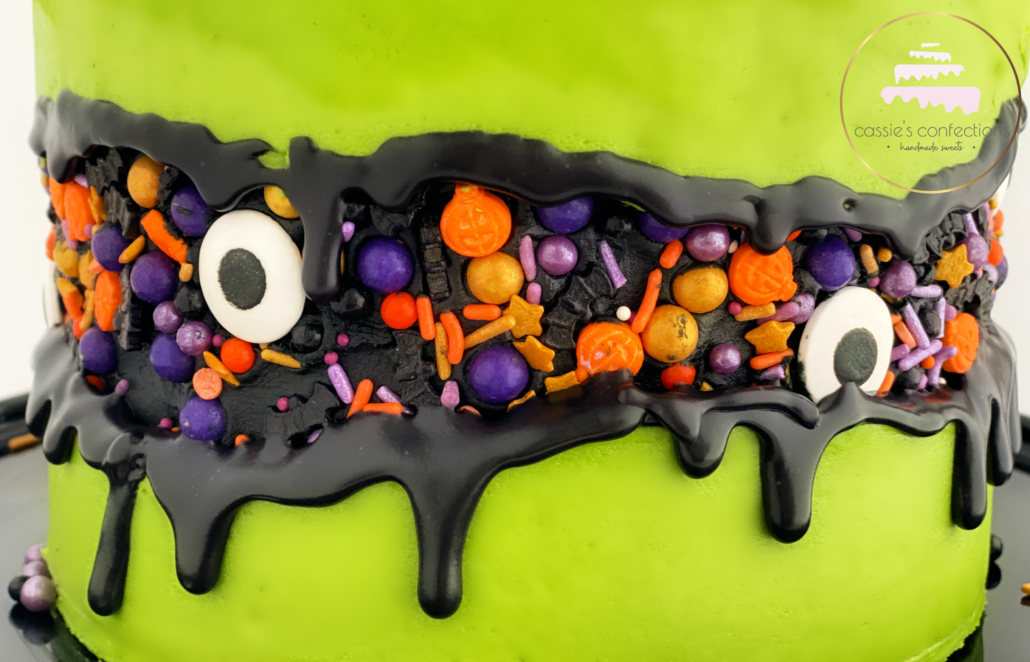
Next, grab your favorite sprinkle mix! Using your hand, apply the sprinkles all over the black buttercream while the buttercream is still room temperature and uncrusted. Try to cover most of the buttercream with sprinkles, but it doesn’t need to be completely perfect.
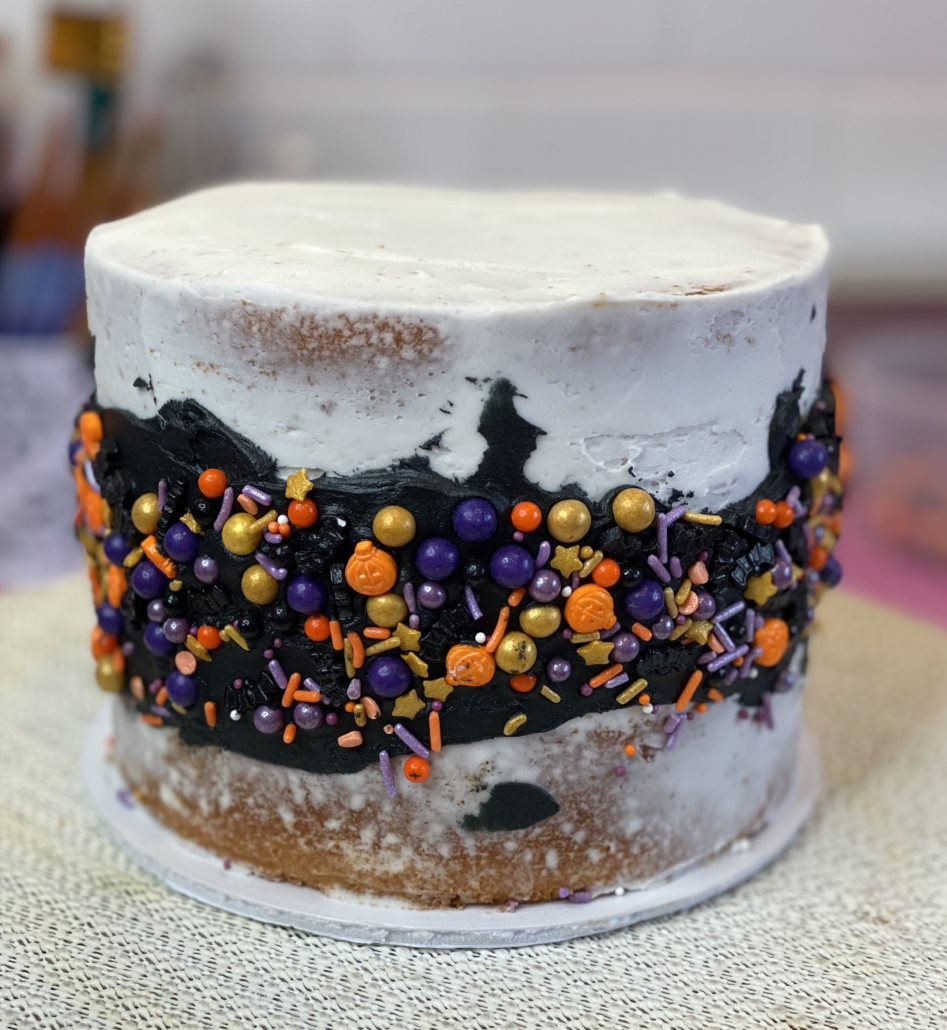
The next step is to apply our main buttercream layer. I created the perfect halloween green using a mixture of avocado green and electric green. After icing the top like you normally would, you will need to spoon some into a piping bag and pipe the border around your black/sprinkle mixture, both the top and the bottom.
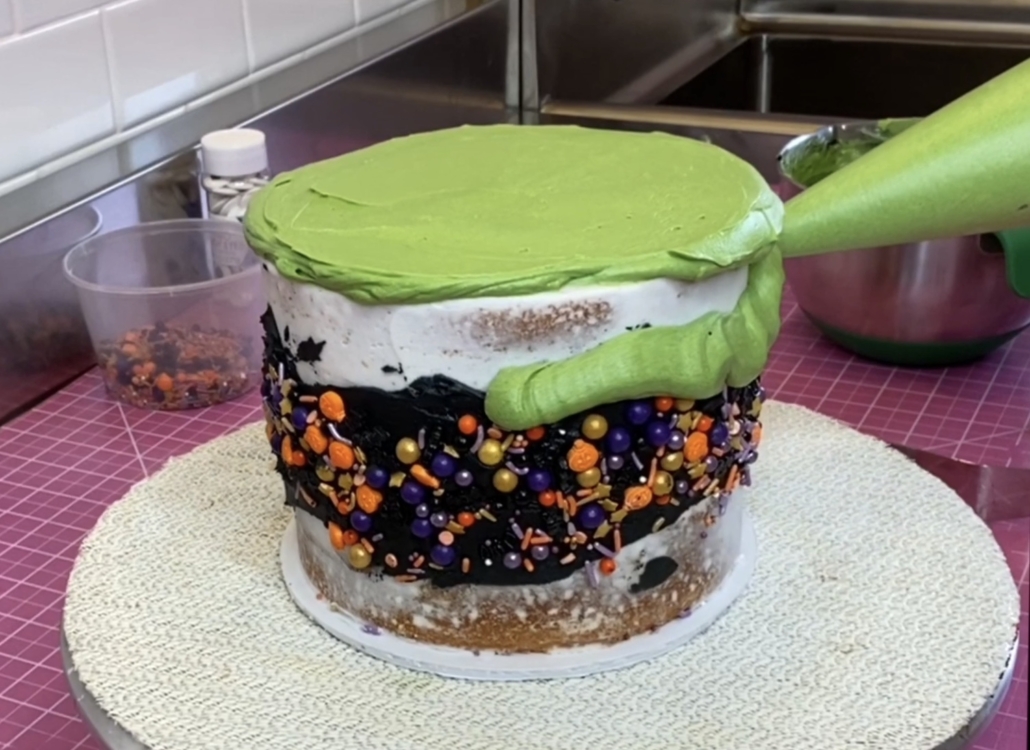
Then you can uses the same piping back to fill in the rest of the buttercream around the cake, and smooth it with a hot bench scraper.
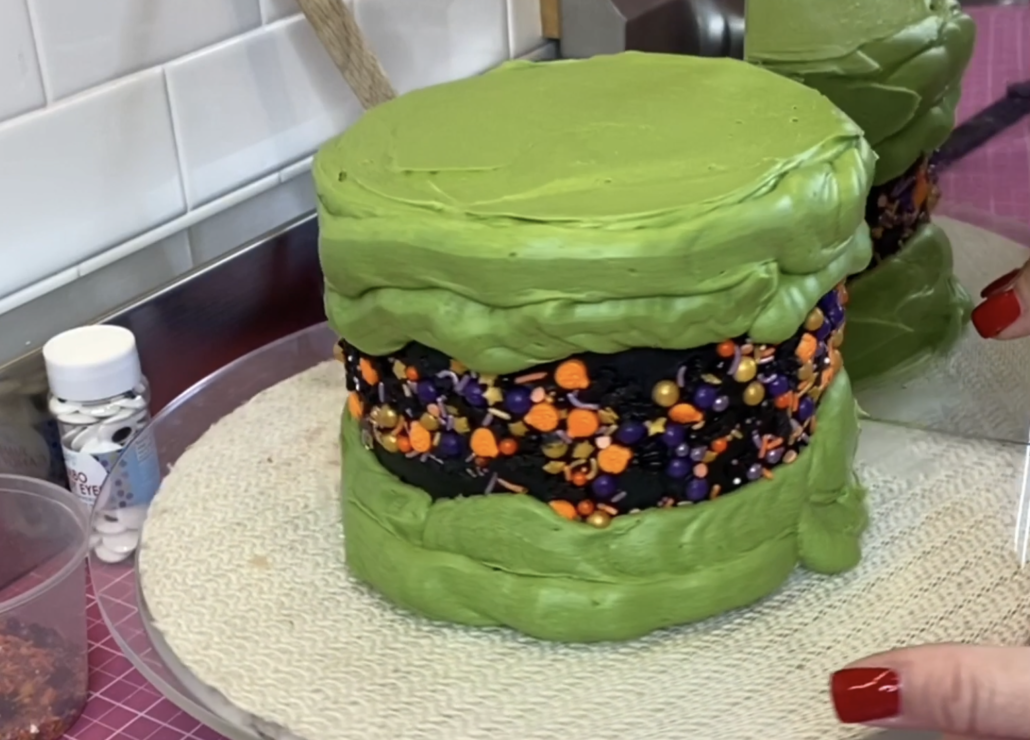
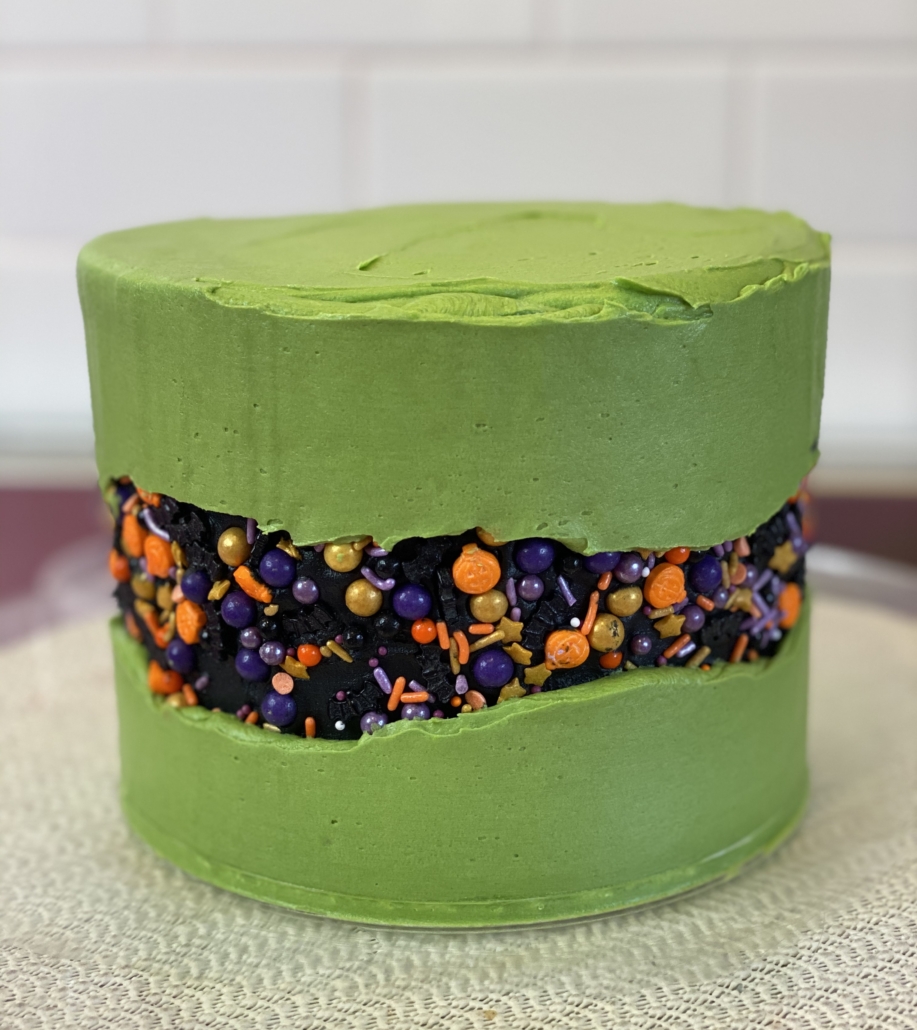
The line around your fault should be jagged… the more jagged the better!

Next you can go back in and apply eyeballs or any larger sprinkles you would like to include. I didn’t apply them with the rest of the sprinkles because I did not want them to interfere with my smoothing by sticking out too far.
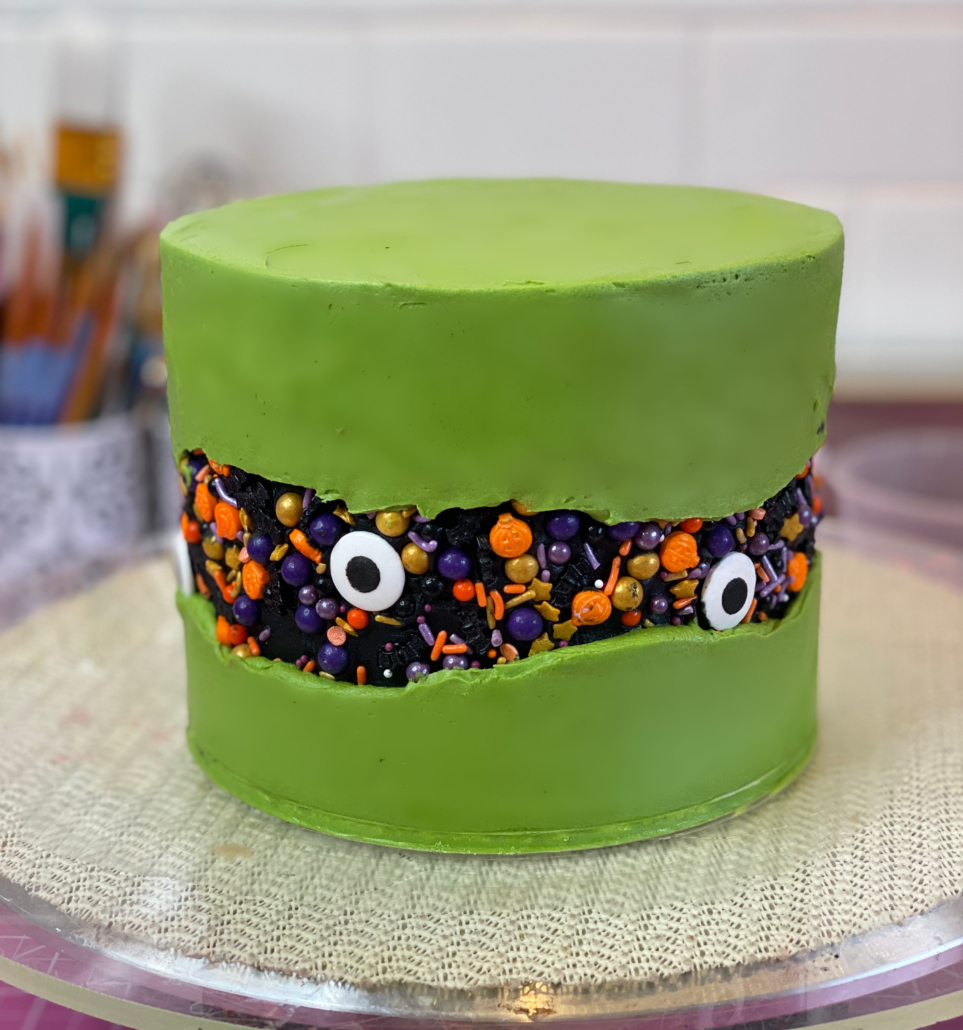
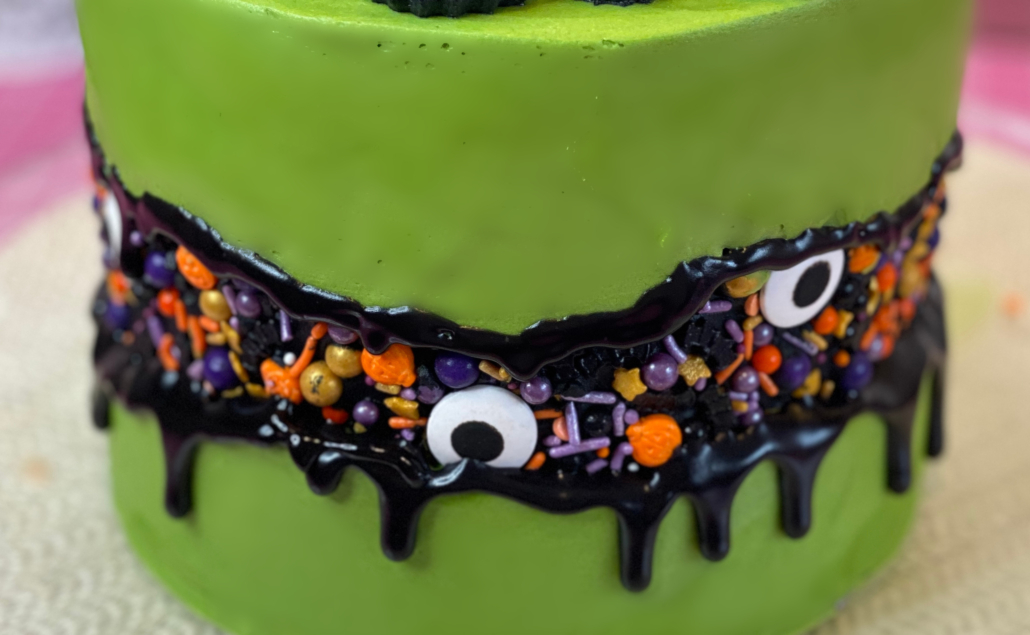
The next step to creating this adorable spooky cake is to apply some drip to the tops and bottom of the fault line.
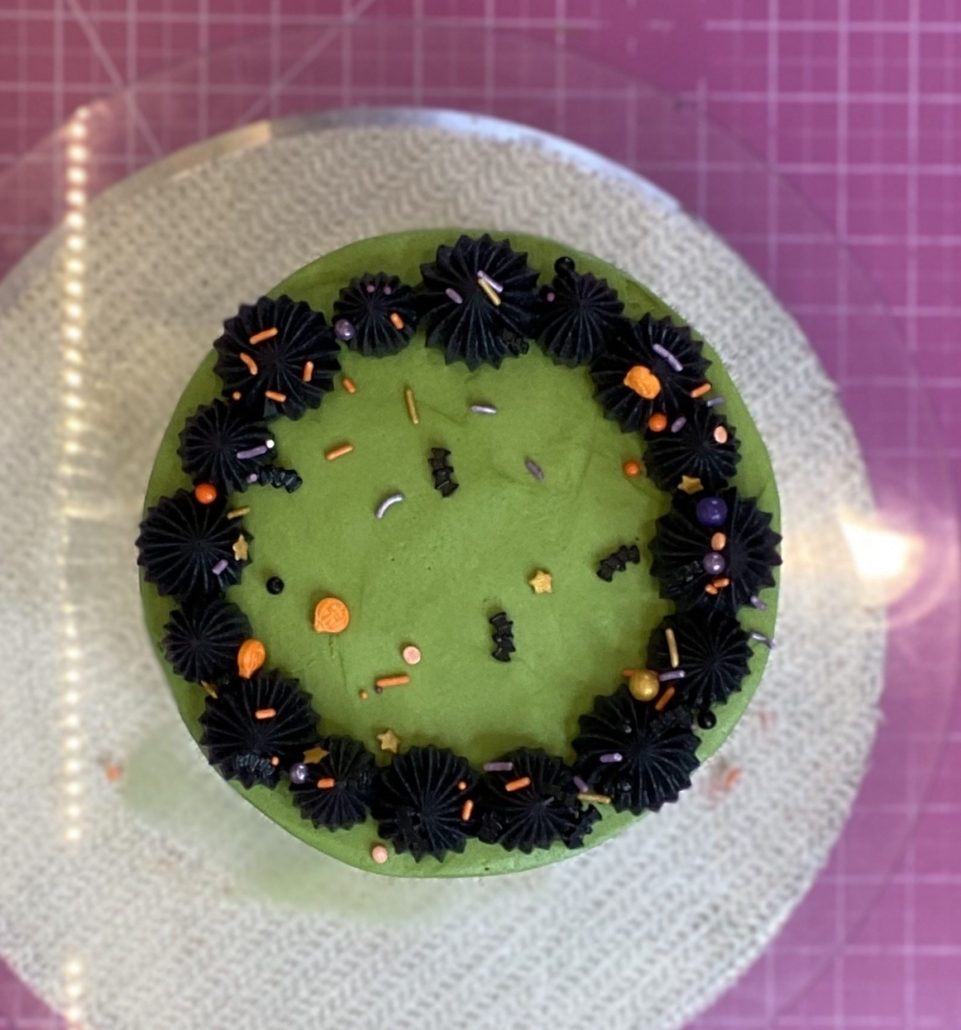
The final thing to add to this cake is some piped dollops of buttercream and sprinkles on the top! So easy!
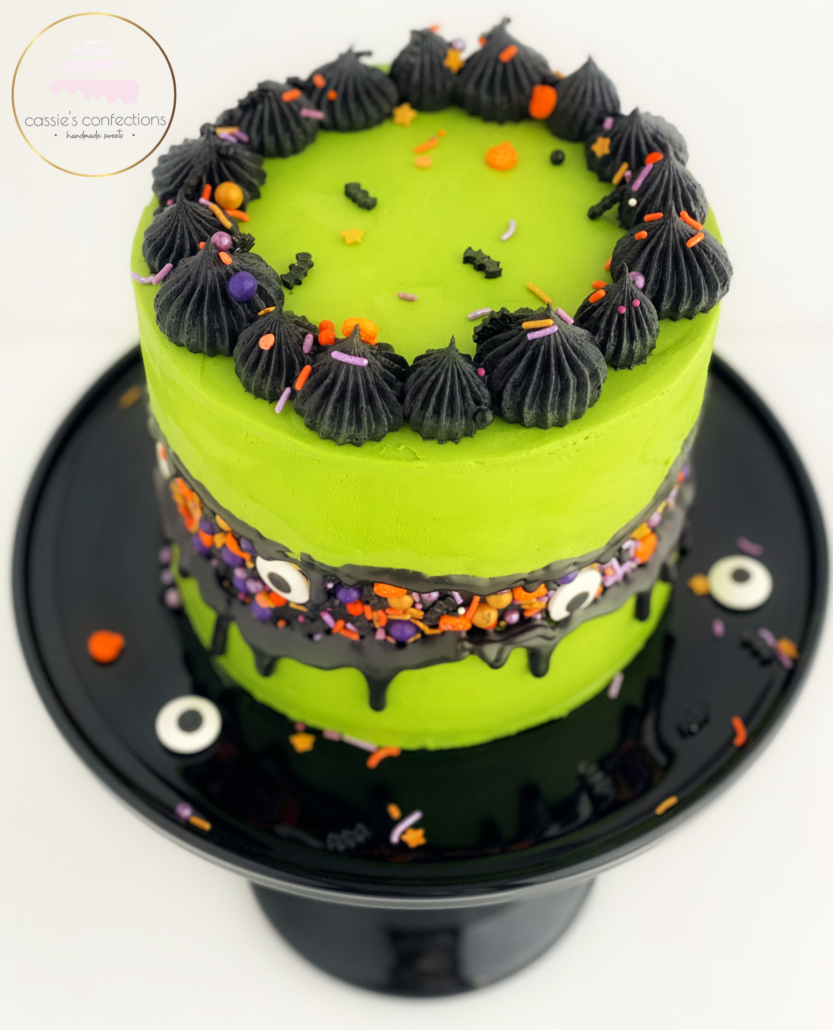
I hope you enjoyed this cake, my friends! It really is a super easy design that will wow your guests. Below is the YouTube video I created on the making of this cake…. enjoy!

xoxo,

Supplies you may need:

Two and a half years between blog posts isn’t so bad, is it? (I’ll keep telling myself that).

Hello, my sweet friends! Welcome to my BRAND NEW WEBSITE! Do you love it as much as I do? Please take a moment to poke around! I am so excited for the new look of Cassie’s Confections and hope it is as pleasing to your eyes as it is to mine.

The timing is wonderful, as I have a fantastic cake to share with you all today!

You may or may not have seen this little teaser that I posted on social media last week:

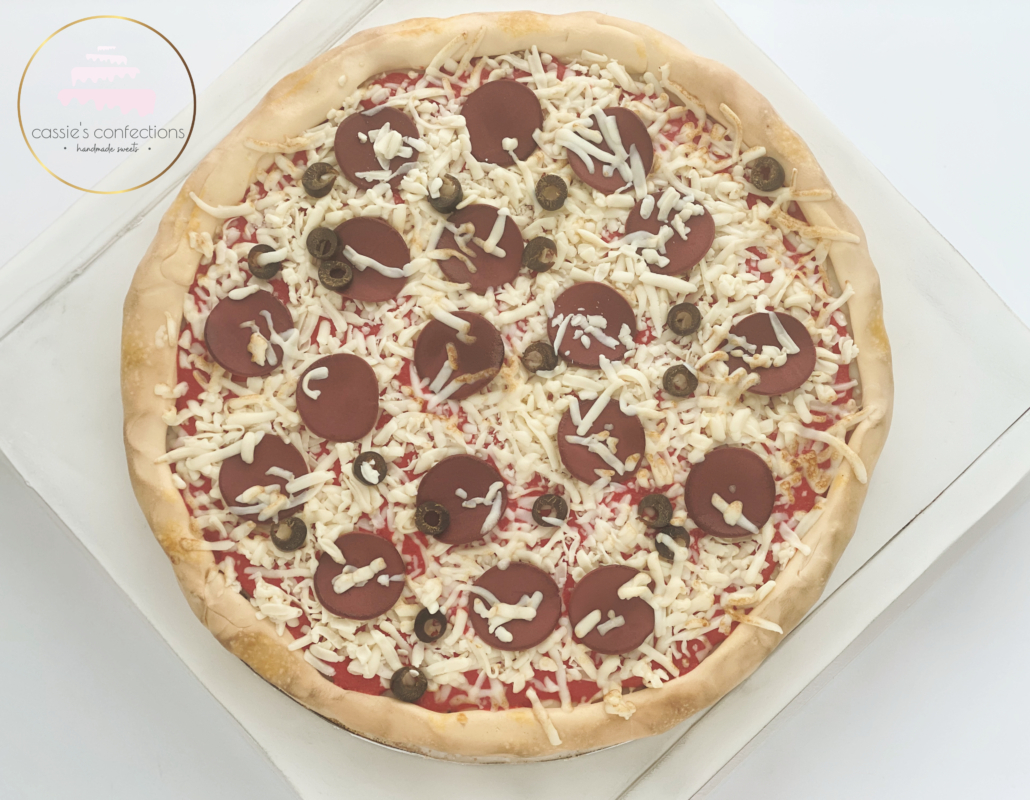
Indeed, I was making a pizza. But don’t let the taste of cheesy, meaty, tomato-y goodness start to fill your mind and your mouth… this pizza was made entirely of cake and sugar!

I am a true pizza lover, just like the little boy I created it for (my son), but I have to say that I was not one bit disappointed as I bit into this deliciousness. I have often found that cakes resembling food or other objects are not quite as tasty, as they are created using tons of fondant and other decorating items from the cake world, and less of cake. But this was *delicious*! It’s a win!

I think we all love a good food cake. Take this one for example, by the talented Laura Loukaides.

AMAZING!

So when I decided to take on a food cake, I knew it was going to have to be as realistic looking as possible. When my goal is realism, I definitely don’t pull up images of what other people create. Instead, I use all REAL images of the item I am creating, and sometimes even the actual item itself. I try to use actual objects or tools that would be used in the making of the real item as well, or at least create a similar effect.

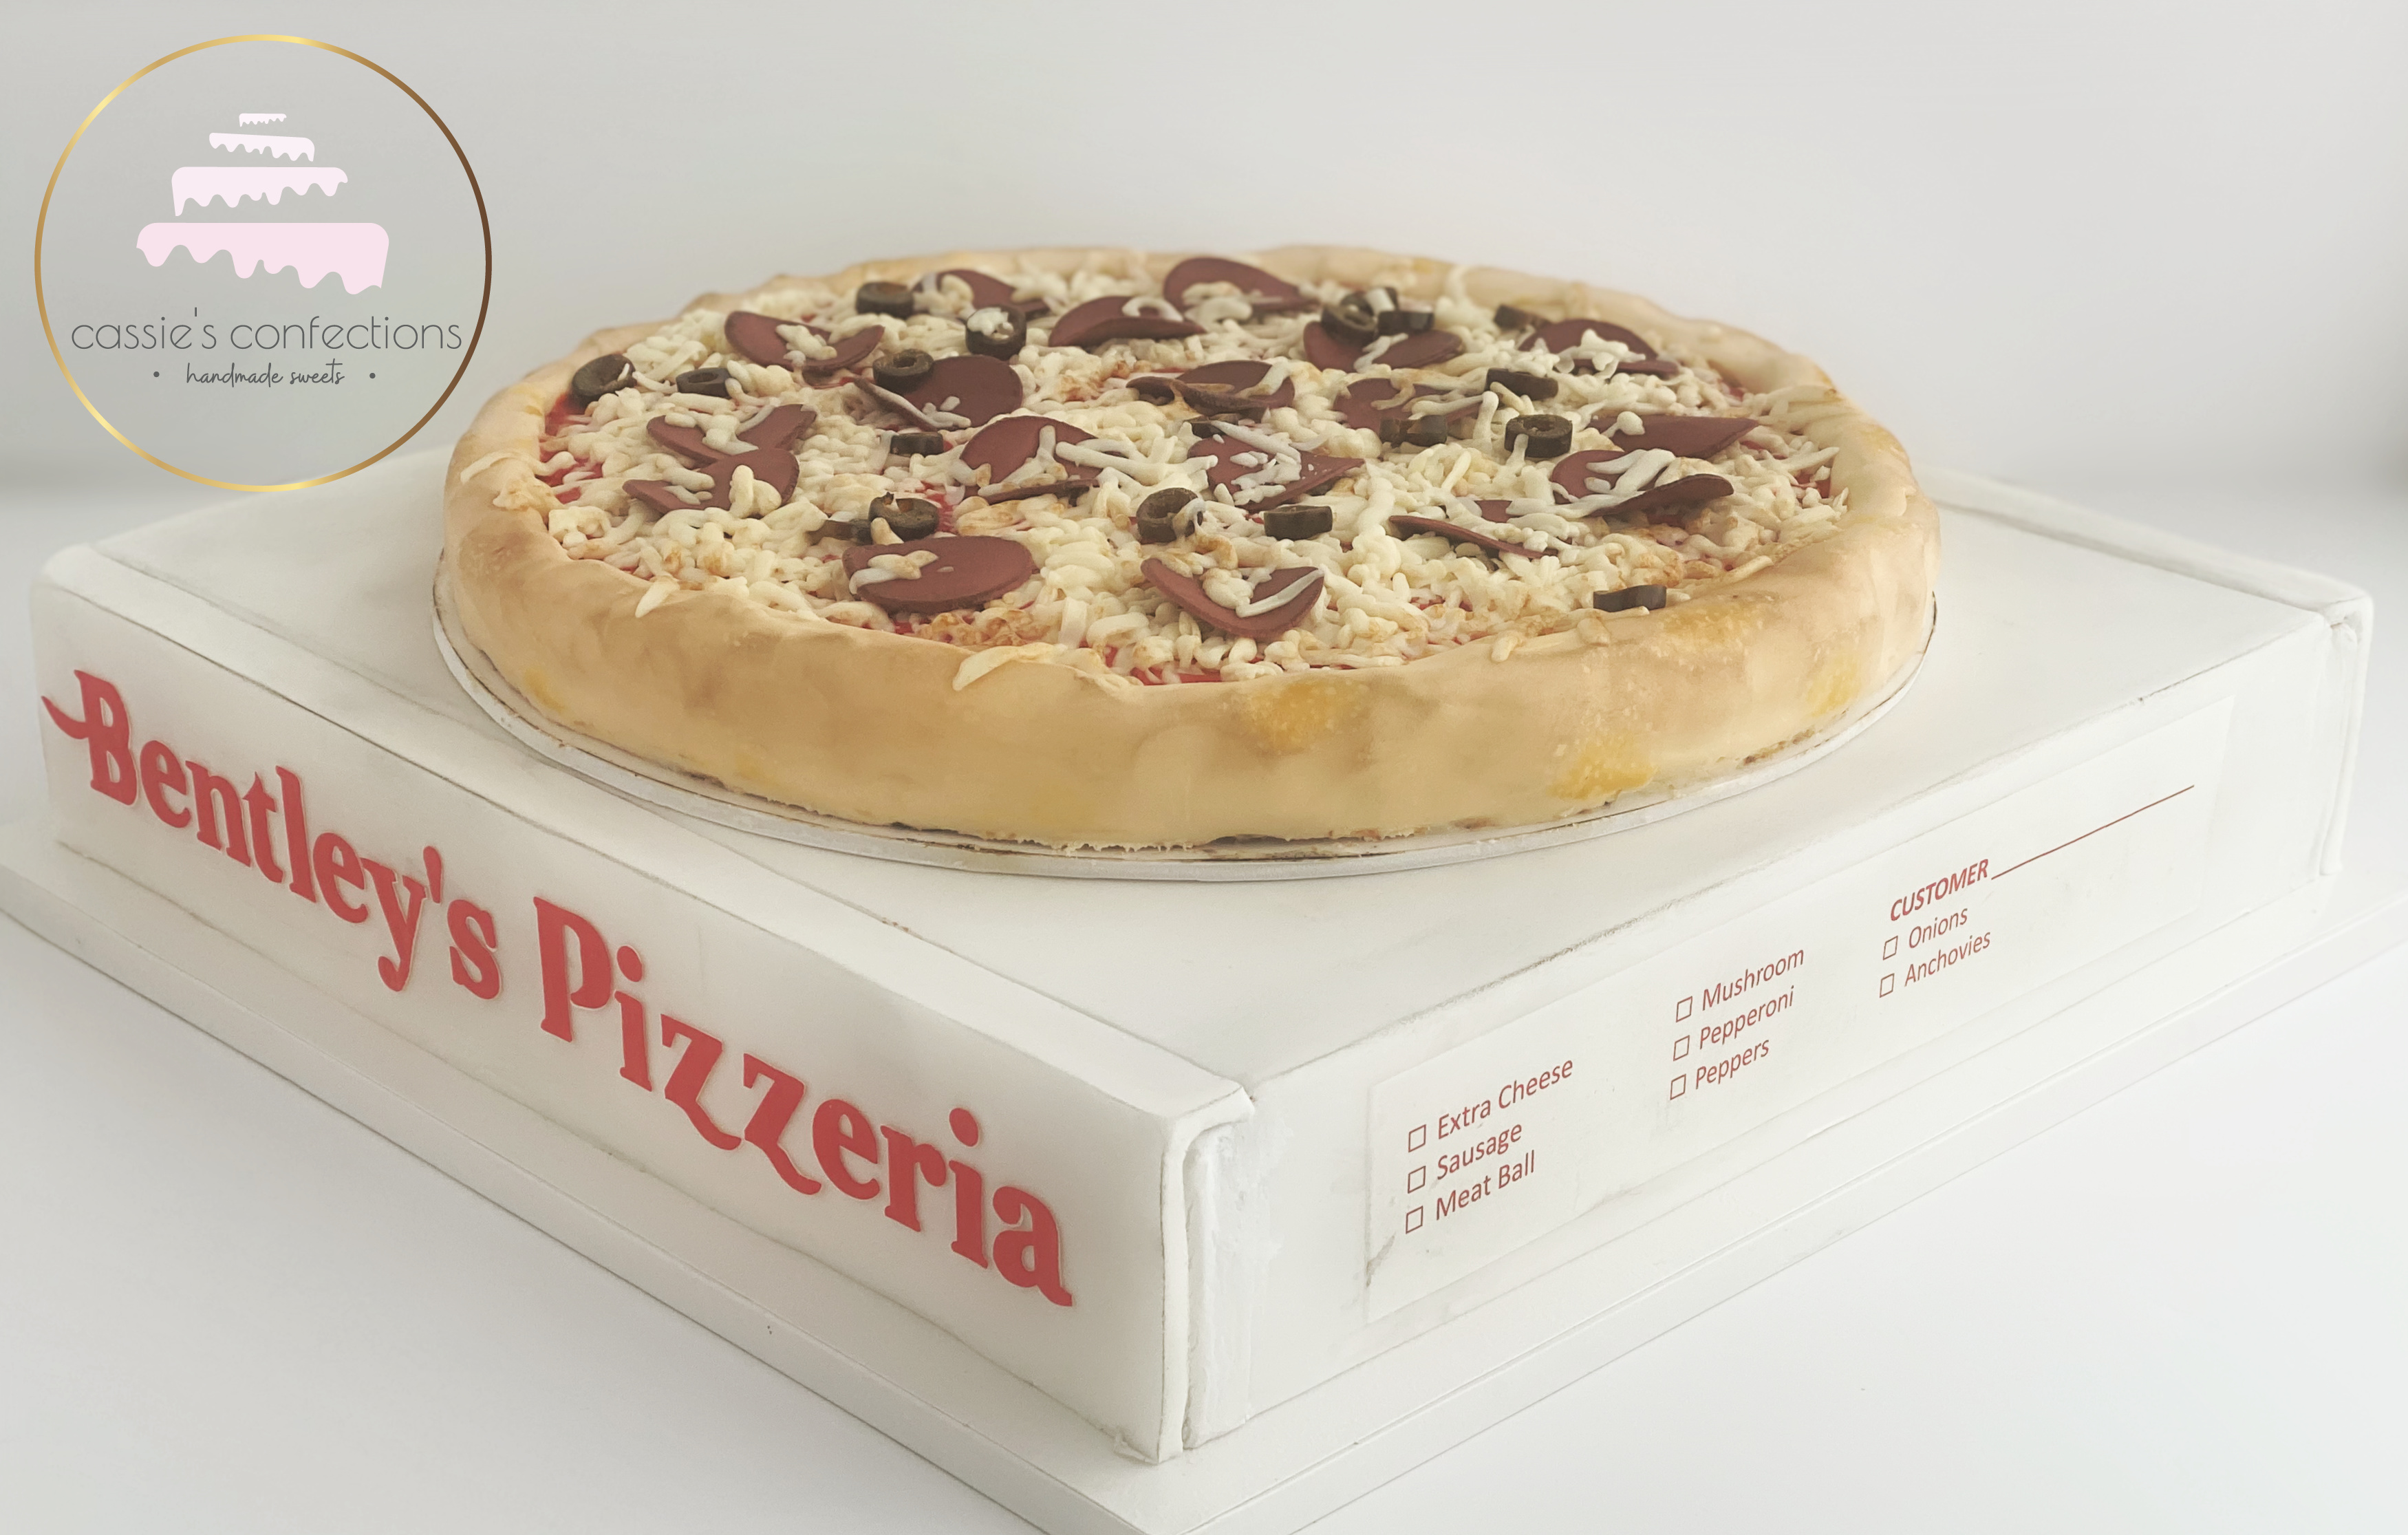
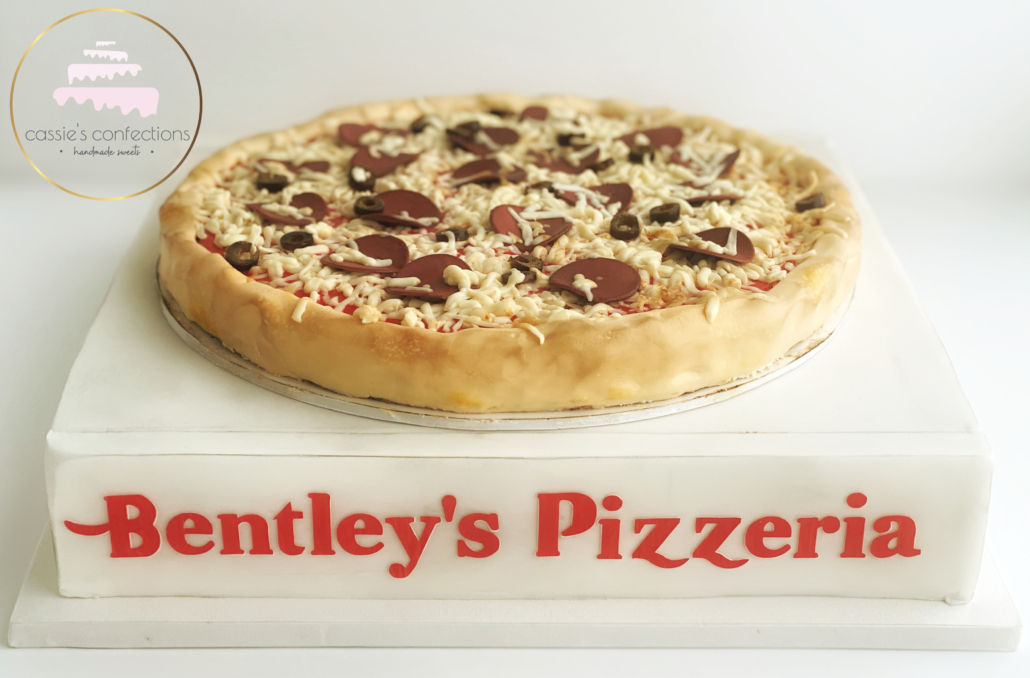
I think my final product definitely achieved what I was going for! The most common comment I heard was “it looks so real!”. Mission accomplished.

If that doesn’t make you hungry for pizza then I don’t know what will!

The best part about this cake was that, although it was thin enough to look realistic as pizza, it was a thick enough amount of actual cake to be absolutely delicious. The boys devoured it!

Although the pizza itself was 13″, our party was pretty large, so I decided to make a pizza box cake as well. It included fun touches like the birthday boy’s name and a realistic looking label to select topping choices.

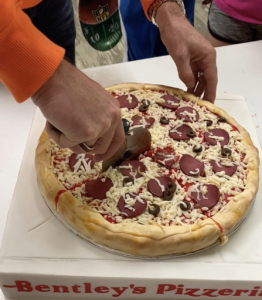
This added such a fun touch to the party! So many people didn’t realize it was cake until it was cutting time. Any idea what sort of tool we might have used to cut the cake?

A pizza cutter!

I hope you enjoy this cake! I have created a full tutorial on how to create this simple pizza cake on my YouTube channel. You can also watch it below. 🙂

Thank you so. much for stopping by! Leave me your thoughts in the comment section!

xoxo,

Tools you may need:

While I could definitely get lost in a good stationary store, that is not what this post is about.

I really wanted to talk about the edible kind… frosting sheets! Wafer paper! Because the two make me just as giddy as (if not more than!) a brand new pad of pretty note paper.

Let’s be honest… when you think of edible images, you think of something like this…

edibleimagecake

Source: http://order.cakes.com

(Which is great! And also how grocery stores are able to charge what they do.)

In my time as a cake designer, I have really evolved in my thinking toward edible images and edible ink printers. I have graduated from feeling slightly embarrassed about owning an edible printer (feeling like maybe I am “cheating”) to loving every minute of it and always looking for opportunities to use it.

Why?

Because I have begun seen far beyond the colorful happy birthday sheet cake image, the simple Super Why image and the edible photo of the birthday child. I have seen the endless possibilities and the stunning details to be created using printed images and patterns!

Here is where it all began…

paisleyguitarcakewm

This was one of my first cake orders, and it was a little terrifying! My customer wanted a Brad Paisley guitar cake. I mean, paisley!?!?

But then I had an idea… and did a little online searching before running across the street to our grocery store to have them print this glorious paisley image. And the wow! People were even more impressed than I thought they would be!

So I began to dabble more…

teapartycake

And started to use images and printed patterns to enhance smaller details on my cakes.

hotwheelscakewm

Even going so far as to use printed wafer paper to decoupage, as in the top tier of my July 4th cake!

july4thcakefinal

I literally found an old copy of the Declaration of Independence, printed it on wafer paper and stuck pieces of it all over my cake… and that tier is one of my proudest.

It wasn’t until my polka dot cake that I finally let go of my inner struggles with using this simple medium.

polkadotcake

One of the cake designers that I admire most shared this cake to her page, and I couldn’t help but notice a comment on the post. Another cake decorator said something along the lines of “Well, it doesn’t look very difficult – just printed paper on a cake”. Which is true, and it was what I had been afraid of people thinking when she had first shared it… and her comment left me staring at my computer screen in confusion and embarrassment.

But then the wonderful cake designer replied to the comment. I don’t remember her exact words, but she basically responded that of course it was printed, but that it didn’t matter… and that a person knowing how to use their creativity, tools and resources to create something beautiful that makes people happy is a great talent in itself.

You cannot imagine what this did for me as a cake designer! I felt that I had been freed from everything that held me back from being proud of my cakes. No more secretly wondering if I had much talent beyond my tools. I was able to acknowledge the creativity and talent that it took to come up with an idea, seek out the tools and successfully create the cake. And I felt free to just have fun.

And now I happily seek out opportunities to add these unique touches to my cakes!

twowildcake

I am thrilled to have so many different mediums available to me, and I revel in the time spent discovering new ways to use them.

Cassiesignature

Tools used in this post:

Online classes you might enjoy:

waferflowersclass

waferflower2

waferflowers3