Where are my Halloween lovers? This week I have a super cute and simple Halloween cake for you all!
The plan for this cake began with the fault line cake trend that has been circling lately. As with all new cake trends, I have of course been dying to try this technique! Halloween seemed like the perfect time to do so, and lucky for me, there didn’t seem to be many Halloween theme fault-line cakes out there just yet.
I won’t be lying when I say I was winging it a bit on this cake! I thought, how hard can it be? I know those are famous last words, especially in *my* bakery, but I went for it anyway.
The best part about this cake was that I remembered to take photos along the way so I can share it with you!
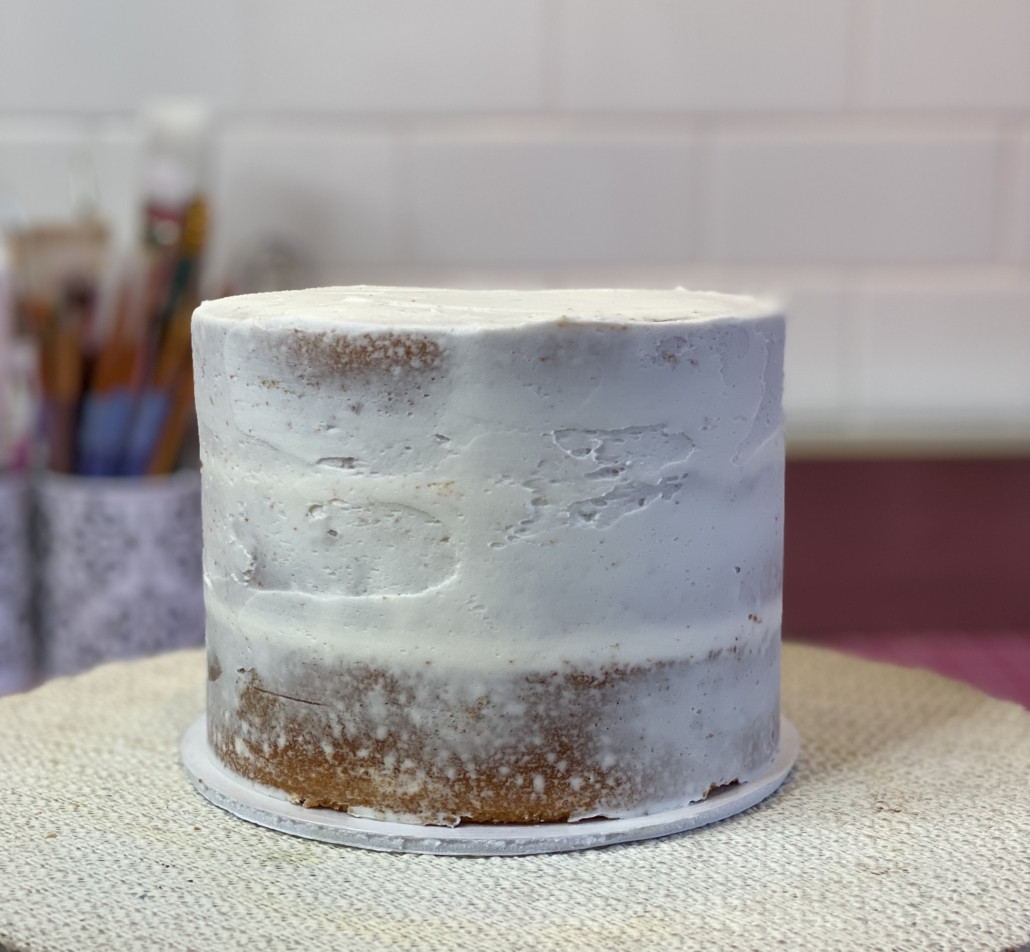
The first step, as always, is to stack and fill your cake. Although I normally don’t feel it necessary, I went ahead and crumb coated this cake as well. After applying the crumb coat, chill the cake for 10-15 minutes.
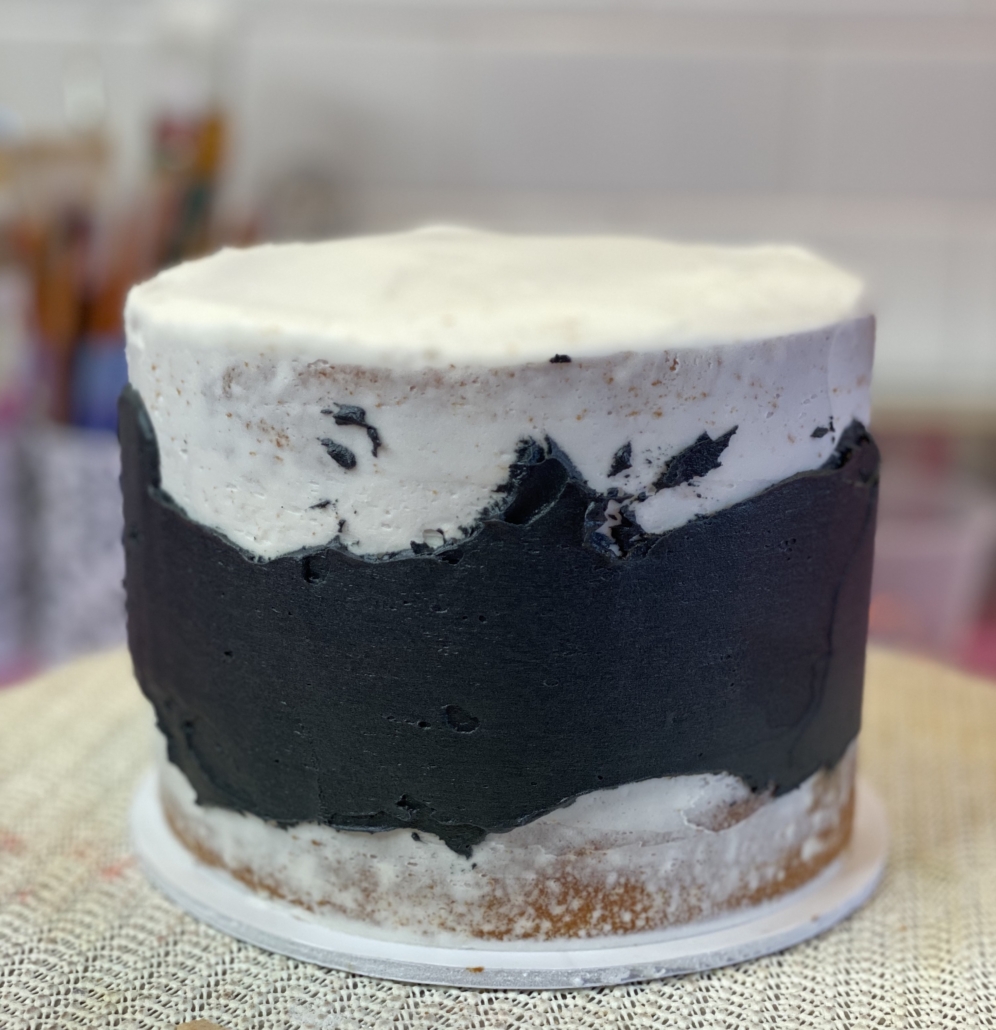
Using an offset spatula, apply a thin layer of black royal icing around the center of the cake. I used a bench scraper to smooth the line as thin as possible without exposing the cake underneath.
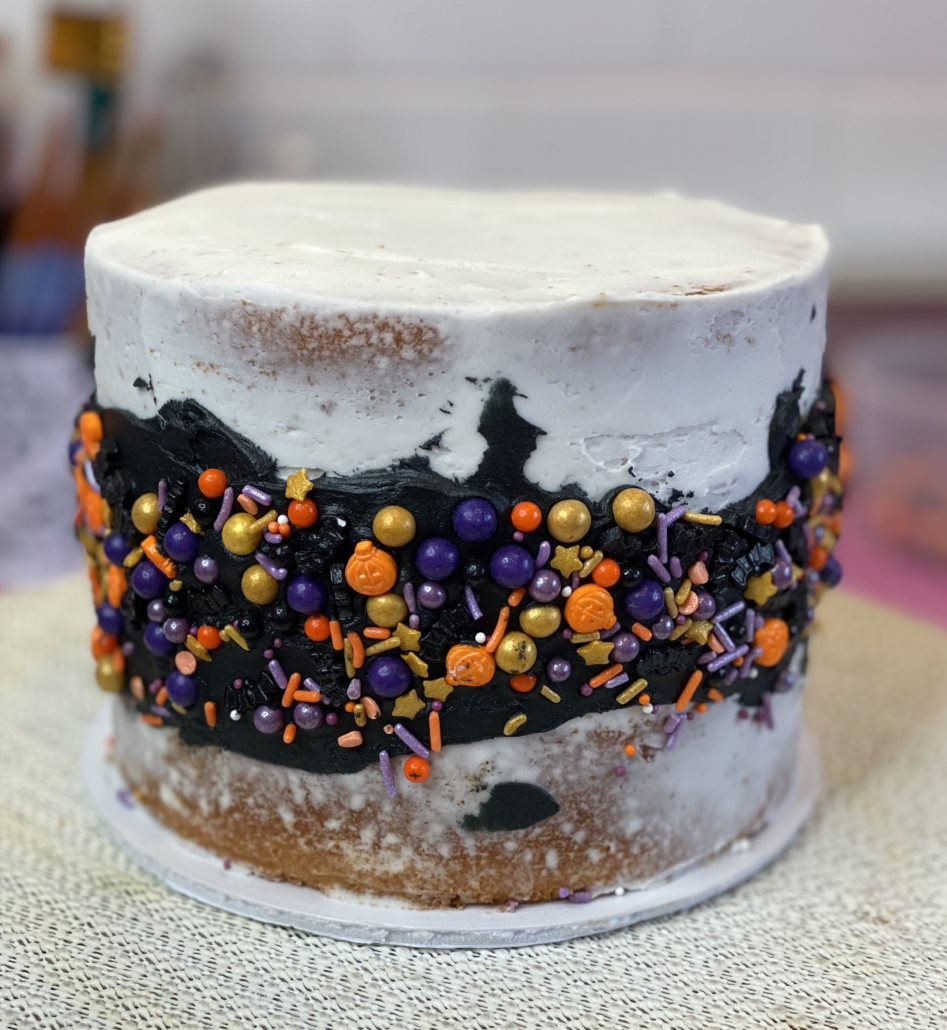
Next, grab your favorite sprinkle mix! Using your hand, apply the sprinkles all over the black buttercream while the buttercream is still room temperature and uncrusted. Try to cover most of the buttercream with sprinkles, but it doesn’t need to be completely perfect.
The next step is to apply our main buttercream layer. I created the perfect halloween green using a mixture of avocado green and electric green. After icing the top like you normally would, you will need to spoon some into a piping bag and pipe the border around your black/sprinkle mixture, both the top and the bottom.
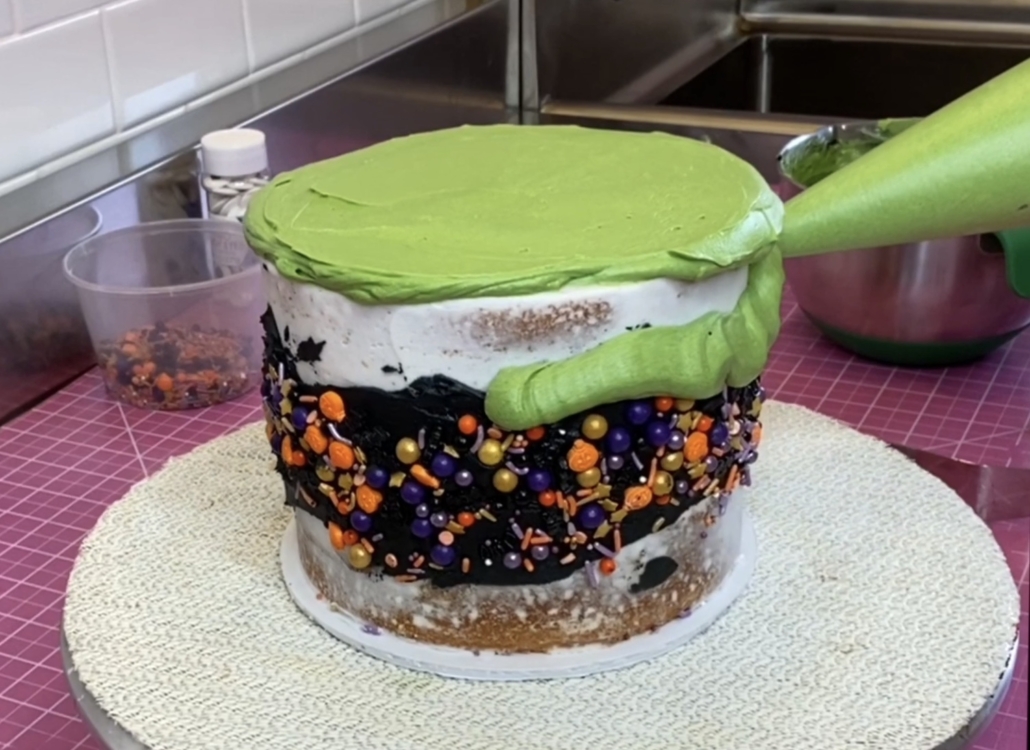
Then you can uses the same piping back to fill in the rest of the buttercream around the cake, and smooth it with a hot bench scraper.


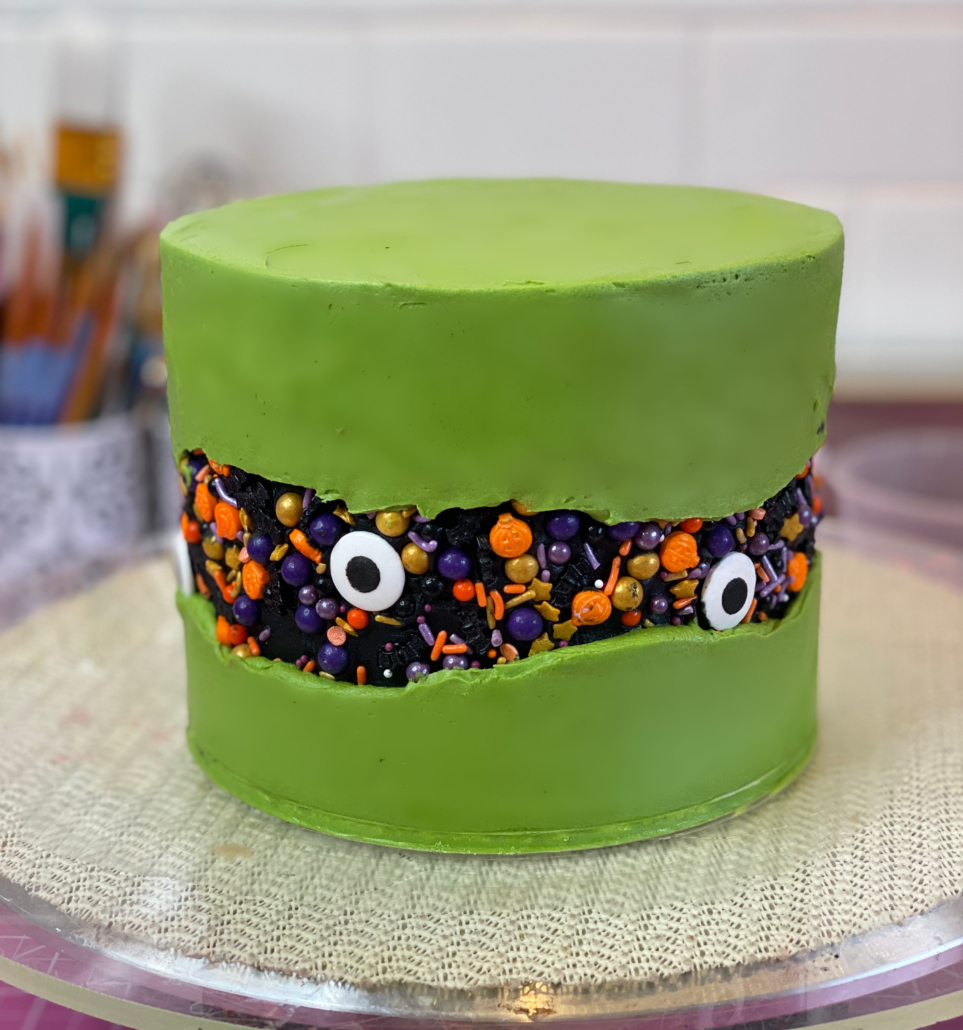
The line around your fault should be jagged… the more jagged the better!
Next you can go back in and apply eyeballs or any larger sprinkles you would like to include. I didn’t apply them with the rest of the sprinkles because I did not want them to interfere with my smoothing by sticking out too far.
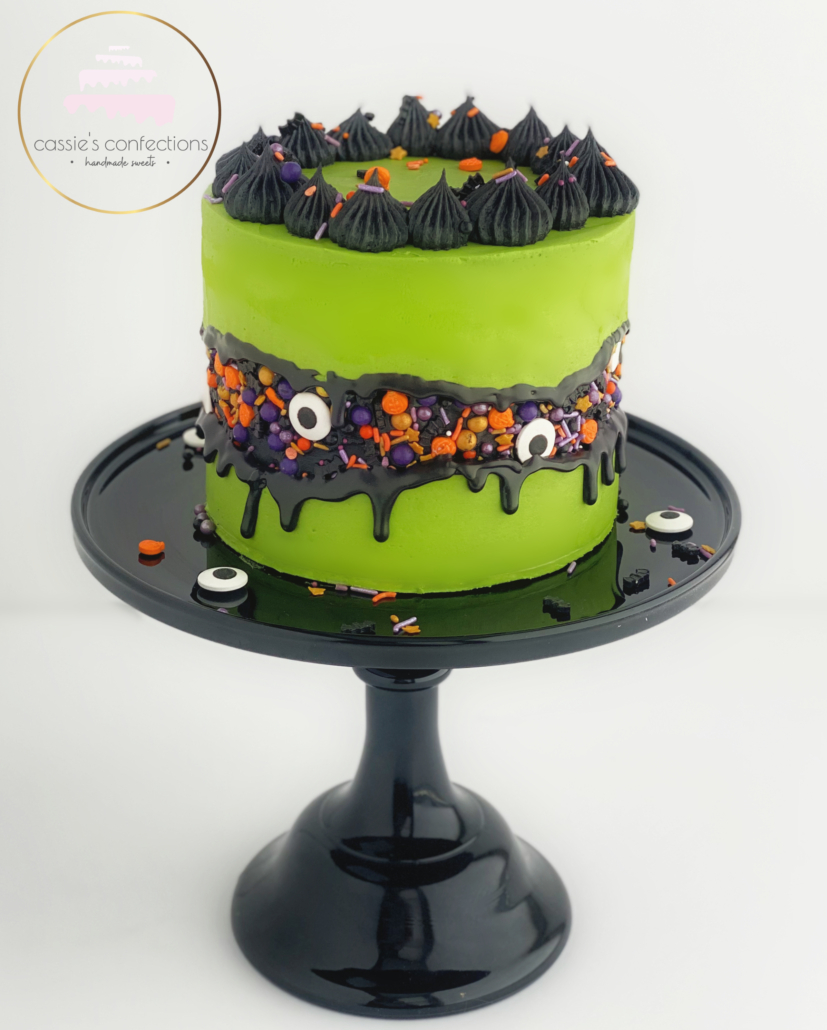
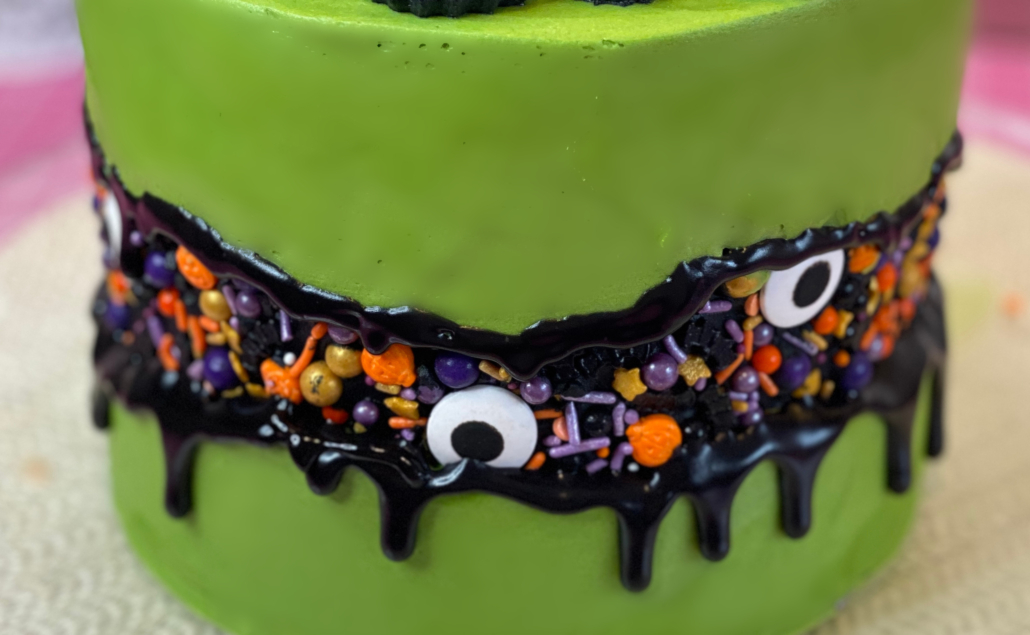
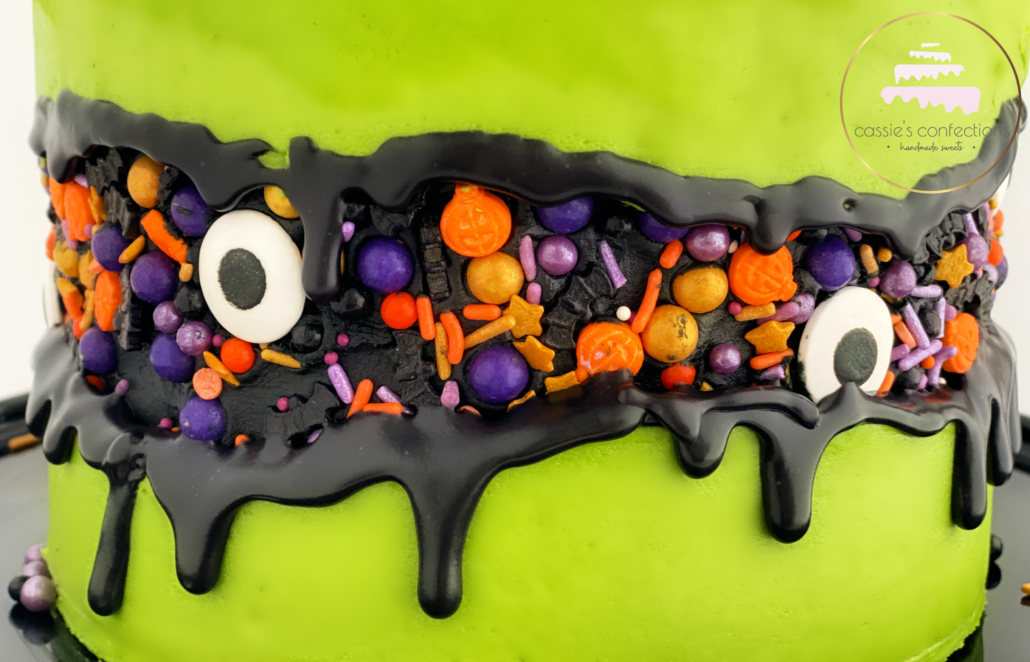
The next step to creating this adorable spooky cake is to apply some drip to the tops and bottom of the fault line.
The final thing to add to this cake is some piped dollops of buttercream and sprinkles on the top! So easy!
![]()


I hope you enjoyed this cake, my friends! It really is a super easy design that will wow your guests. Below is the YouTube video I created on the making of this cake…. enjoy!
xoxo,
![]()
Supplies you may need:

