Posts

Two and a half years between blog posts isn’t so bad, is it? (I’ll keep telling myself that).

Hello, my sweet friends! Welcome to my BRAND NEW WEBSITE! Do you love it as much as I do? Please take a moment to poke around! I am so excited for the new look of Cassie’s Confections and hope it is as pleasing to your eyes as it is to mine.

The timing is wonderful, as I have a fantastic cake to share with you all today!

You may or may not have seen this little teaser that I posted on social media last week:

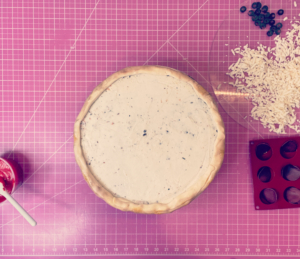
Indeed, I was making a pizza. But don’t let the taste of cheesy, meaty, tomato-y goodness start to fill your mind and your mouth… this pizza was made entirely of cake and sugar!

I am a true pizza lover, just like the little boy I created it for (my son), but I have to say that I was not one bit disappointed as I bit into this deliciousness. I have often found that cakes resembling food or other objects are not quite as tasty, as they are created using tons of fondant and other decorating items from the cake world, and less of cake. But this was *delicious*! It’s a win!

I think we all love a good food cake. Take this one for example, by the talented Laura Loukaides.
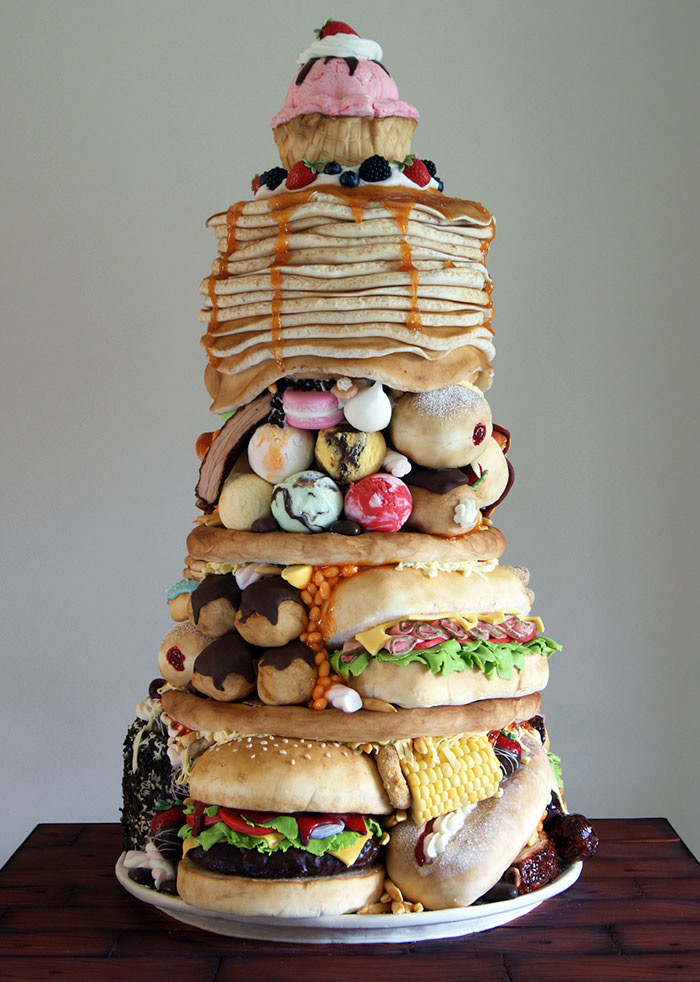
AMAZING!

So when I decided to take on a food cake, I knew it was going to have to be as realistic looking as possible. When my goal is realism, I definitely don’t pull up images of what other people create. Instead, I use all REAL images of the item I am creating, and sometimes even the actual item itself. I try to use actual objects or tools that would be used in the making of the real item as well, or at least create a similar effect.

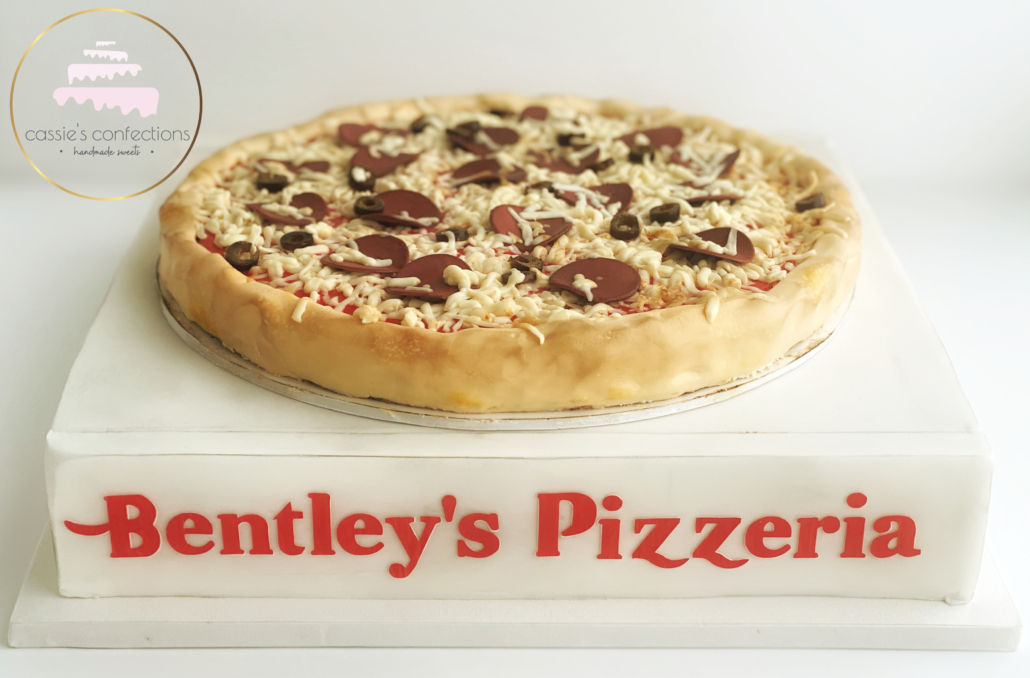
I think my final product definitely achieved what I was going for! The most common comment I heard was “it looks so real!”. Mission accomplished.

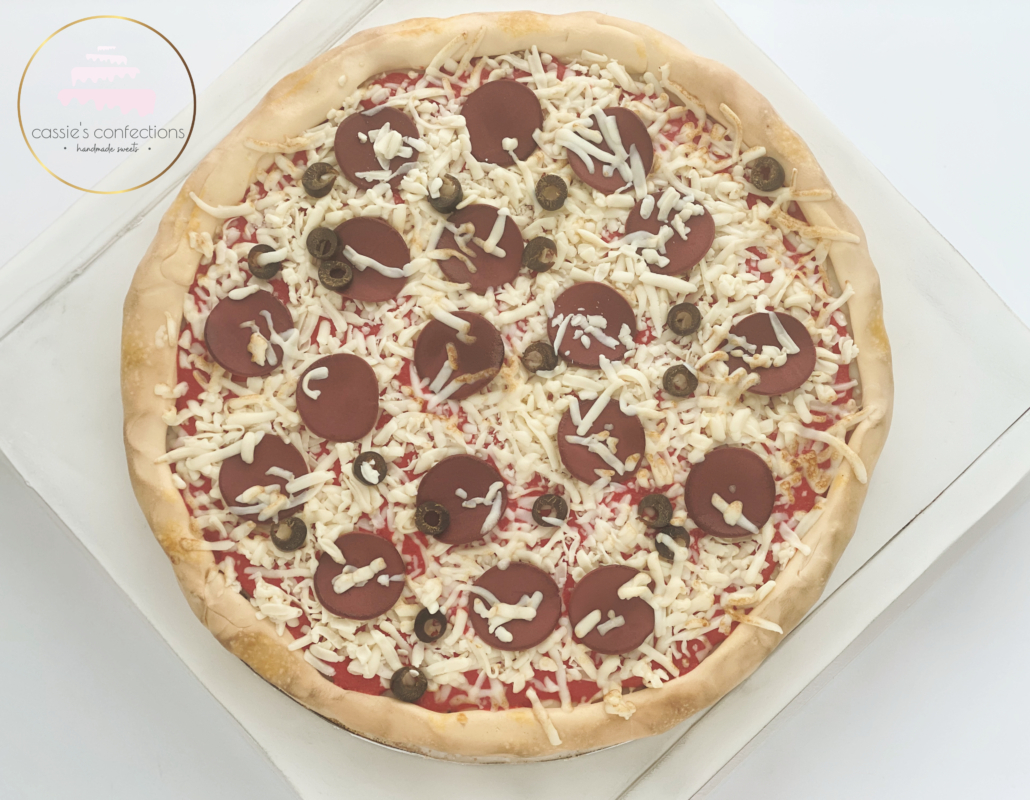
If that doesn’t make you hungry for pizza then I don’t know what will!

The best part about this cake was that, although it was thin enough to look realistic as pizza, it was a thick enough amount of actual cake to be absolutely delicious. The boys devoured it!

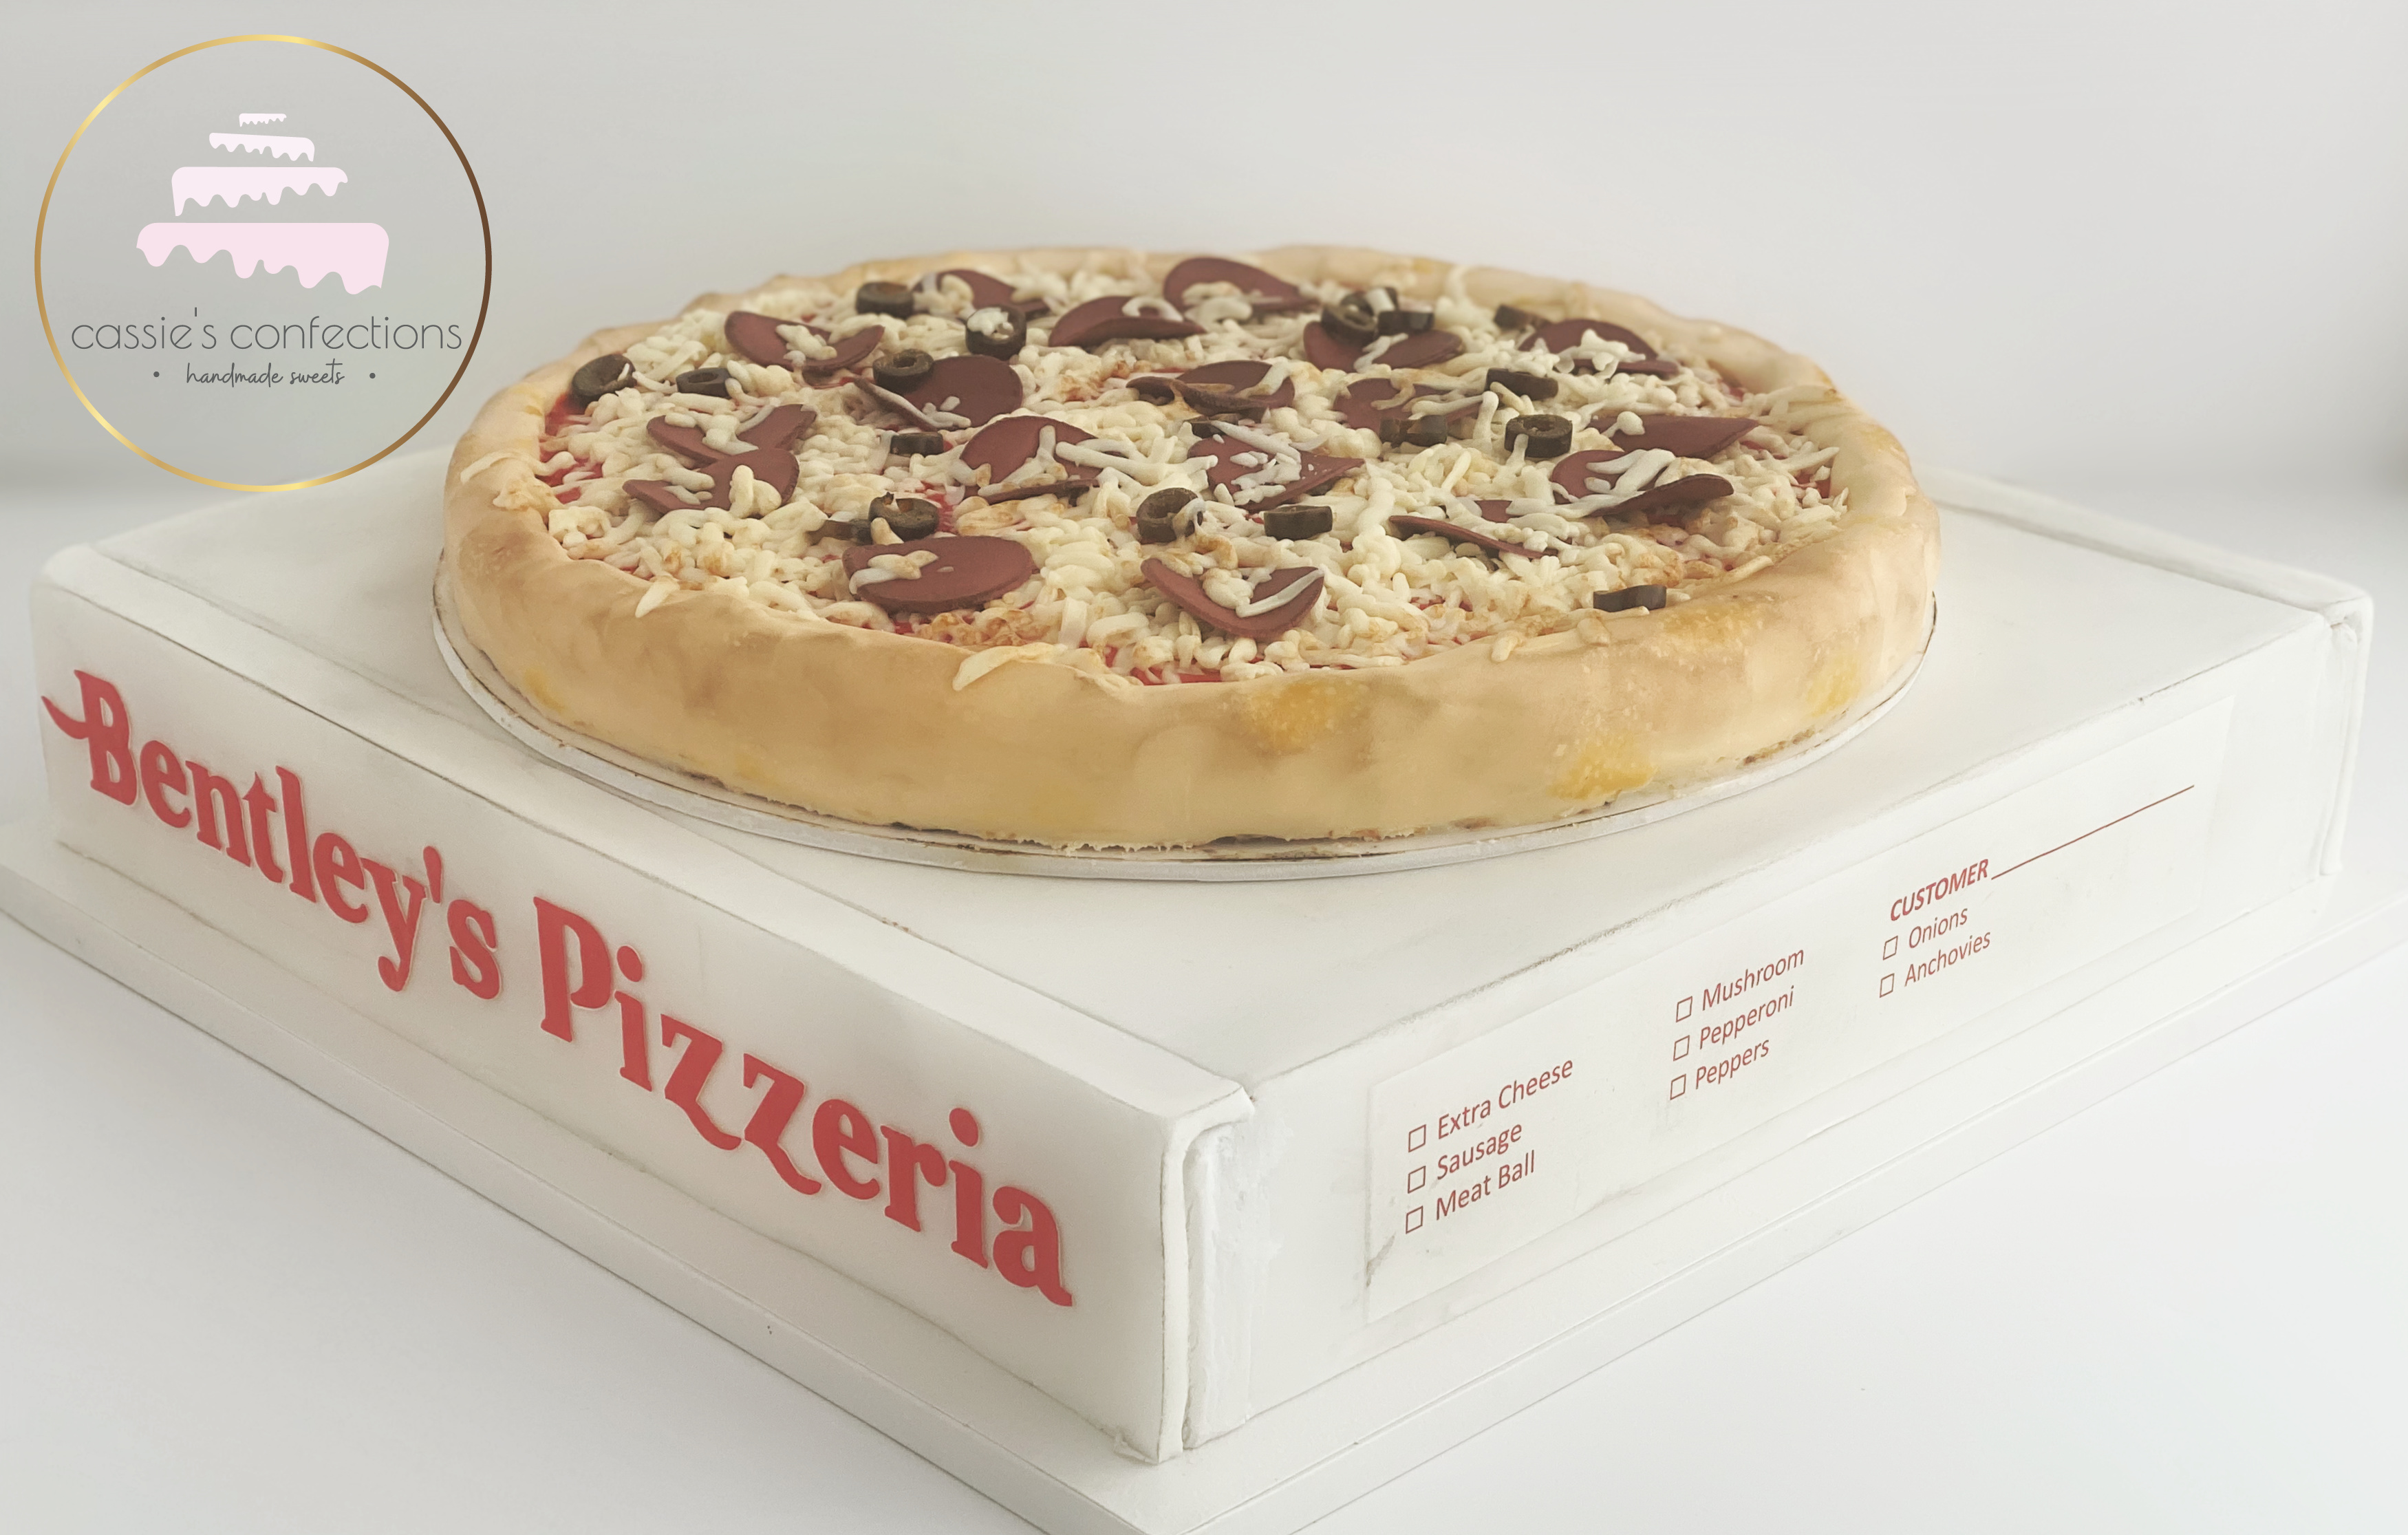
Although the pizza itself was 13″, our party was pretty large, so I decided to make a pizza box cake as well. It included fun touches like the birthday boy’s name and a realistic looking label to select topping choices.

This added such a fun touch to the party! So many people didn’t realize it was cake until it was cutting time. Any idea what sort of tool we might have used to cut the cake?
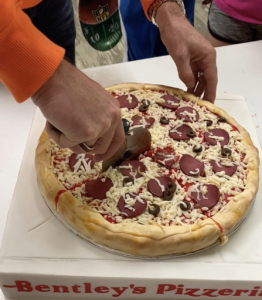
A pizza cutter!

I hope you enjoy this cake! I have created a full tutorial on how to create this simple pizza cake on my YouTube channel. You can also watch it below. 🙂

Thank you so. much for stopping by! Leave me your thoughts in the comment section!

xoxo,

Tools you may need:

Something happened this weekend, you guys… something that I’m still in denial about.

My baby girl, my first born and my oldest daughter turned nine! Nine!?

How is this possible? It truly feels like yesterday that this sweet little redhead was born. And now we are looking the end of her first decade in the eye.

Sigh.

So when this sweet one, who also happens to be mommy’s biggest fan, was asked what she wanted for her birthday cake this year and she replied (with a gleam in her eye) that she “had a challenge” for me, I knew this would be good.

Her requested theme? “A watermelon sleepover”.

So, you know what? The girl got a watermelon sleepover!

The party itself was adorable! Watermelon balloons, plates and favors, along with various other pink, red and green details.

I decided to satisfy my need for a “pretty” cake with the actual cake, and use the decorations to create the sleepover portion of the theme. Since she was only having a couple of friends over and the cake size would need to be small, I opted to put the characters on the board instead of the cake.

I wanted to give my #1 fan an awesome sleepover cake, so I took it one step further and created the hand-modeled characters to actually resemble her best friend and cousin, the two sleepover guests at her party!

The characters are created out of fondant, and I used a brand new (unused) dish scrubber to give a sort of carpet texture to the fondant on the board.

I hand-painted the entire cake itself, and I put together the video tutorial below to show how I created the top watermelon tier!

My sweet girl was so thrilled when she saw her cake! Creating my own kids’ birthday cakes bring me so much joy!

Tools used in this project:

Here we are again, on a lovely Sunday with a few extra moments (finally!) to write!

It seems that 2017 has so far been about facing my (cake) fears! Which is good! In my life, a fear will nag at me incessantly until I finally stand up and deal with it, so cakes will be no different.

I have dabbled with airbrushing in bits and pieces, while learning to adjust the settings on my airbrush and test out the colors.

I’ve also done an entire white fondant cake into dark colors, such as this style. (This works wonderfully well as a way to avoid black or dark fondant or buttercream!)

I won’t deny that the cake above is really pretty and somewhat impressive looking, but it does come at a price! That would be me, heart pounding, hands shaking, second guessing and panicking.

This week, I once again decided to give another little push at my discomfort towards airbrushing. While I know that I am creative, I feel that I am creative in a structured design aspect as opposed to a wild artist aspect, so painting and things that are more artistic can sometimes throw me a bit. Such is the way with airbrushing. When other cake artists airbrush, I see gorgeous, vibrant colors spraying wildly at a cake and turning it into a stunning canvas of perfectly dispersed color molecules.

But when I airbrush? Ugh… not so much!

However, I do see the potential of an airbrushed cake and I’m determined to at least partially master it.

This week, my biggest project was an electric guitar cake! Not just any electric guitar – the specific one that the birthday boy owned. And it was not just a plain old guitar, but one with a detailed pattern and colors. This one!

I knew right off the bat that some airbrushing was going to be needed. After much brainstorming and mulling it over with my husband (which I do often), I decided to use fondant to create a similar design pattern and airbrush the color to achieve the purple edge effect.

It was not without it’s challenges (never forget that any lumps and bumps in your surface pick up airbrush color), and I am positive there is a purple layer of color dust coating my entire bakery, but it turned out pretty well!

All the tiny edible details were super fun to create. I chose to go with silver floral wire for the strings. I decided that it was more important to me that they look realistic than be completely edible, and I was quite happy with my choice.

Due to the amount of servings needed, I chose to create the neck and head of this guitar out of foam core covered with fondant and other edible elements (please, no angry musicians being mad at me for my lack of guitar knowledge and terminology!) and propped up by clear bubble tea straws (which you can see in this photo).

Oh, and the wooden board that this guitar is sitting on is actually a silver cake drum covered with white fondant and decorated/painted, and you might notice that I use this look quite often on my cake boards. If anyone is interested in learning how I create this, let me know and I will put something together!

I hope this musician had an awesome day!

Supplies used in this project:

Classes you might like:

A couple of weeks ago, I had the most wonderful opportunity to create a vintage airplane birthday cake for an incredibly loved little boy. From the moment his mom sent me a copy of the party invitation, I knew I was going to love this project! And I did… from start to finish.

airplanecakewm

The airplanes on the side of the cake are hand-painted with food coloring. I just love painting on cakes… it is so relaxing and creates such a wonderful look! I especially loved the dreamy clouds on this cake. Every once in a while, there is a project that reminds me of the magic of childhood, and this one did just that!

But of course the element that I enjoyed the most was the adorable airplane cake topper!

airplanetopperwm

This sweet topper was created from gum paste and was nearly all edible (minus the toothpicks). It traveled straight from my imagination to the top of this cake, and I adore it.

So much, in fact, that I created a video of the making of this topper!

Enjoy!

Cassiesignature

A few fabulous tools used in this project:

Craftsy Cake Decorating Class

The gorgeous “Tiffany blue” box. The delicate satin ribbon. Those tiny black inscribed letters that mean so much.

The Tiffany & Co. box is a long-standing symbol of elegance and class. For this reason, Tiffany & Co. inspired cakes are a popular and often-requested theme, especially for bridal showers and the like.

I was approached to create a small Tiffany box cake to be central on a bridal shower dessert table. The excitement of a first-time theme drew my interest immediately, as it always does… especially with it being one so prominent on Pinterest and other online communities.

Tiff&Cocakewm

One thing that most excited me in planning this cake was my client’s request for size – this cake was to be 4″. I really enjoy when cakes are ordered in the size best suited for their design and, as a Tiffany box is often small and square, this was perfect.

tiff&cocakebow

In order for the ribbon to catch your eye, I used super pearl dust to give it some shine and a satin-like appearance.

tiff&cocaketopviewwm

The beautiful lace-like look of the cake board happened by complete accident. That will have to be a story for another day. 😉 The inside of this cake was delicious dark chocolate with creamy dark chocolate ganache filling.

My hope is that I was successful in providing the bride-to-be and her special ladies with a beautiful and decadent centerpiece for their memorable event.

Cassiesignature

Used in the creation of this cake:

The only thing more eye-catching than a beautiful sugar rose is a miniature sugar rose. Anything tiny is bound to be adorable… Which is why tiny edible things attached to cakes are always such a crowd pleaser!

image

For this stunner of a vintage rose baby shower cake, I needed mini roses. And I needed a LOT of them.

image

I searched high and low on social media, desperate for the simplest version of a mini rose tutorial that I could possibly find. I needed the fewest pieces, the least amount of supplies and the quickest assembly. I knew that if I didn’t find this, I was in for hours of tedious (as in, even too tedious for ME) work.

So I decided to create my own method. I played and fussed for close to an hour and came up with a perfect and simple method for tiny and quick, yet adorable, mini roses.

In fact, I had so much fun, I made even more of them for the coordinating cake pops. That was 135 roses in all… In just over two hours!

image

This turned out to be the perfect way to wow (literally – this is what people most often say when they view this cake!) without as much work as anyone would expect.

Cassiesignature

Tools used in this project:

If you have followed me much at all, you know that I have a love for fondant cakes. I love their gorgeous, smooth appearance. I love the decorating possibilities that a fondant covering allows. I love the ease of creating color, without the use of tons of food coloring.  Most of all, I love the challenge of creating a perfectly smooth, sharp edged fondant cake.

So when I have a client that comes to me requesting a multiple-tiered fondant cake, I am in my true element. Don’t get me wrong, I love a delicious, amazing smelling, smooth buttercream cake just like the rest of you, but fondant and I have found a special place together in my kitchen.

When this sweet lady sent me a photo of a gorgeous hot air balloon cake by the amazingly talented Smash Cakery and asked me to recreate it, I may have started to hyperventilate with excitement just a bit.  Fondant. Pink. Pastels. Buntings. Ruffles. Fluffy white clouds. Oh my.

hotairballooncakefinal

I created the hot air balloon base and balloon out of Rice Krispies Treats. I masked them with chocolate ganache and covered them with fondant. Boy, that last two sentences made it sound way easier than it actually was! Luckily, I expected this to be the case and finished it early in the week. Hardest part: done.  For a special touch, I created the lace look around the top and bottom of the balloon basket by using a clearance craft puncher (that I had picked up a couple of weeks before) on wafer paper. Simple and beautiful! You may notice that I even used some of the leftover cutouts as detail on the balloon.

For the ruffles on the bottom tier, I cut out 1″ strips of fondant and then used my scalpel to cut wavy lines off the top of each strip. I then attached the strips with piping gel. Easy peasy!

If you thought this order couldn’t have gotten any more fun, my client requested coordinating cookies as well!

hotairballooncookieswm

In future posts on this blog, I hope to provide some tutorials on the details of my cakes. I love talking cake!

But for now, enjoy the photos of this cheerful set and let them take you away!

Cassiesignature