Two and a half years between blog posts isn’t so bad, is it? (I’ll keep telling myself that).

Hello, my sweet friends! Welcome to my BRAND NEW WEBSITE! Do you love it as much as I do? Please take a moment to poke around! I am so excited for the new look of Cassie’s Confections and hope it is as pleasing to your eyes as it is to mine.

The timing is wonderful, as I have a fantastic cake to share with you all today!

You may or may not have seen this little teaser that I posted on social media last week:
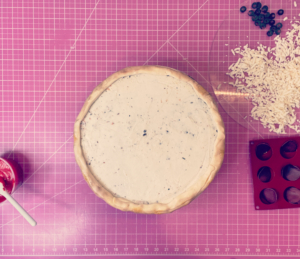
Indeed, I was making a pizza. But don’t let the taste of cheesy, meaty, tomato-y goodness start to fill your mind and your mouth… this pizza was made entirely of cake and sugar!

I am a true pizza lover, just like the little boy I created it for (my son), but I have to say that I was not one bit disappointed as I bit into this deliciousness. I have often found that cakes resembling food or other objects are not quite as tasty, as they are created using tons of fondant and other decorating items from the cake world, and less of cake. But this was *delicious*! It’s a win!

I think we all love a good food cake. Take this one for example, by the talented Laura Loukaides.

AMAZING!

So when I decided to take on a food cake, I knew it was going to have to be as realistic looking as possible. When my goal is realism, I definitely don’t pull up images of what other people create. Instead, I use all REAL images of the item I am creating, and sometimes even the actual item itself. I try to use actual objects or tools that would be used in the making of the real item as well, or at least create a similar effect.

I think my final product definitely achieved what I was going for! The most common comment I heard was “it looks so real!”. Mission accomplished.
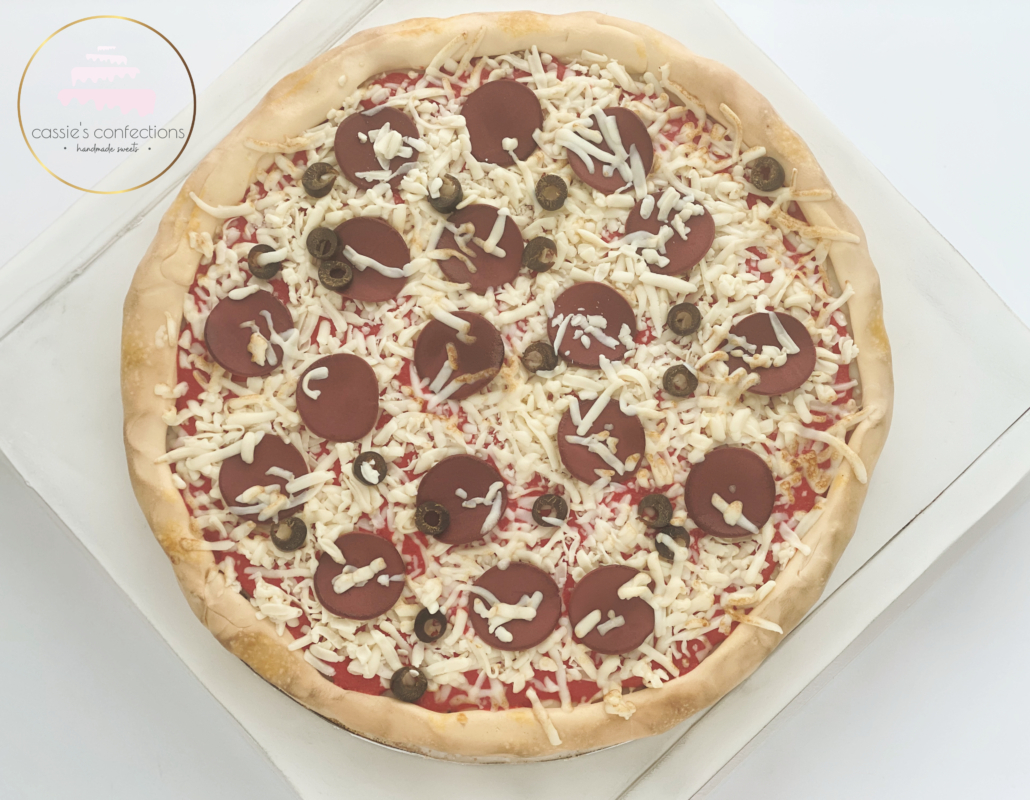
If that doesn’t make you hungry for pizza then I don’t know what will!

The best part about this cake was that, although it was thin enough to look realistic as pizza, it was a thick enough amount of actual cake to be absolutely delicious. The boys devoured it!
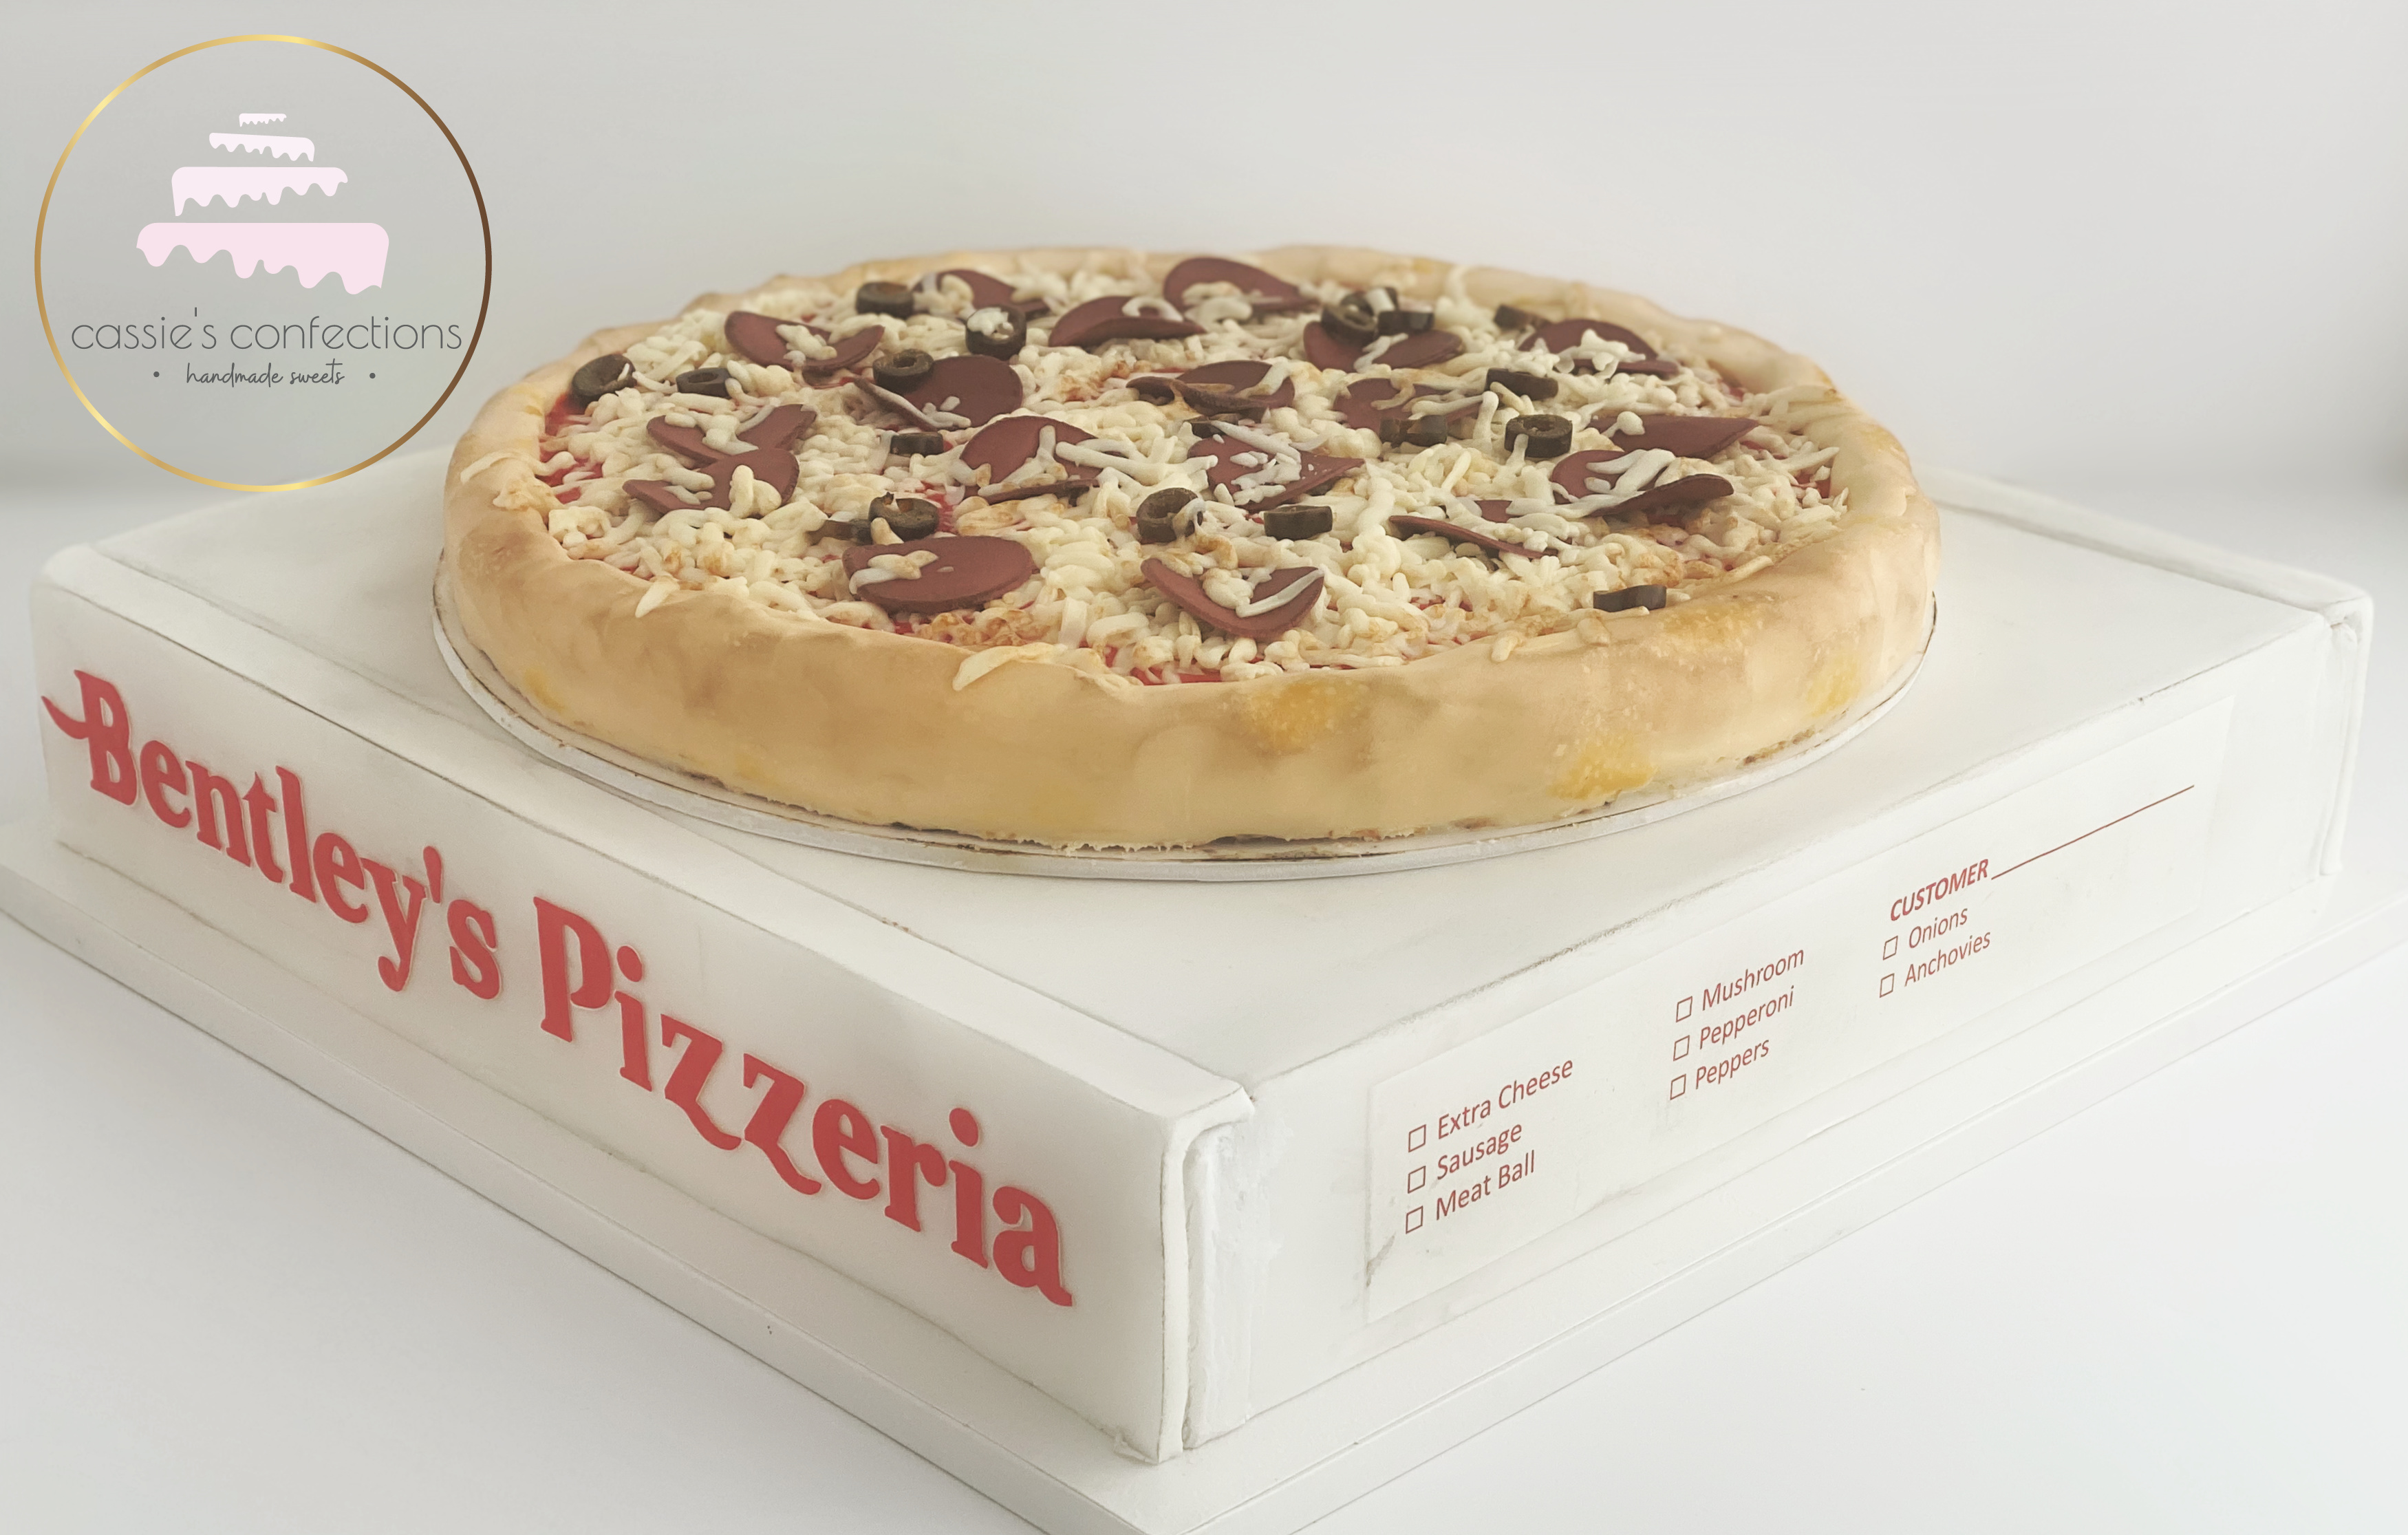
Although the pizza itself was 13″, our party was pretty large, so I decided to make a pizza box cake as well. It included fun touches like the birthday boy’s name and a realistic looking label to select topping choices.

This added such a fun touch to the party! So many people didn’t realize it was cake until it was cutting time. Any idea what sort of tool we might have used to cut the cake?
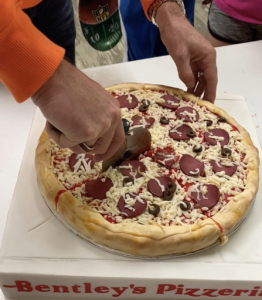
A pizza cutter!
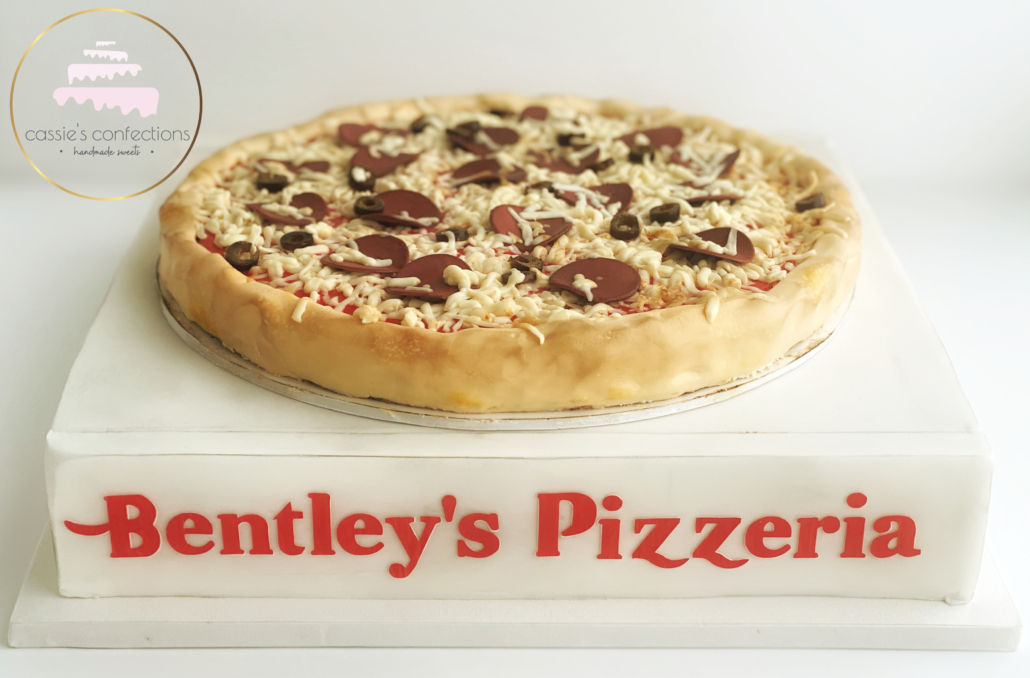
I hope you enjoy this cake! I have created a full tutorial on how to create this simple pizza cake on my YouTube channel. You can also watch it below. 🙂

Thank you so. much for stopping by! Leave me your thoughts in the comment section!

xoxo,

Tools you may need:

Happy May Day, my sweet friends!

Oh my goodness, how life has gotten away from me these last couple of months! Between four kids and their busy schedules, my husband traveling for work and more glorious orders than I know what to do with (because, let’s face it, it’s hard to say no!) I’ve been too busy to write.

But here I am.

This past week was one of those weeks that I adore… with nothing but the most fun projects on my plate. If you know me, you know that I love the beautiful, elegant, feminine, detailed and clean designs the very most. So a week full of these types of orders brings me great joy.

There was one cake in particular this week that I couldn’t get enough of.

Isn’t she a beauty?

The precision of the elegant striped bottom tier appealed to all my senses. I used my upside down method (similar to this video) to create the most perfect seamless stripes.

In order to create stripes of similar thickness in both colors, I rolled out long strips of each color and then laid them side by side and rolled them simultaneously. This gives a smooth, flat appearance on the tier. Perfection.

The elegant monogram encircled with black pearls on the top tier and the gold pearls around the bottom tier added a touch of class.

What is it about a gorgeous monogram that can bring anything to the next level? The way the swirled gold “M” catches the light…

The coral and gold floral arrangement wrapping gracefully around the middle of this cake adds a beautiful change in texture and a gorgeous pop of color. The gold leaves and centers create a bit of elegance and help to blur the line between naturalistic and whimsical.

The clean lines on this cake are so pleasing to the eye, and the sugar on the board at the base of the cake adds a bit of sparkle to complete this design.

Every once in a while, a cake is born in my bakery that makes me feel especially satisfied… this is one.

I hope you love this cake as much as I did.

On another note…

If you would love to know exactly how I created the striped bottom tier, I will consider creating a video tutorial for my YouTube channel. Please leave me a comment below and let me know!

I’ll admit, I’ve been feeling a bit confused lately, my friends! I want to know just who my audience is.

Are you a cake decorator watching videos and reading blog posts for fun? Are you watching or reading them to learn? Are you someone who just enjoys beautiful photos? Are you someone who just loves those mesmerizing cake and cookie videos floating around online?

Please let me know who you are, so that I know what to create for you and how.

Tools used in this project:

Something happened this weekend, you guys… something that I’m still in denial about.

My baby girl, my first born and my oldest daughter turned nine! Nine!?

How is this possible? It truly feels like yesterday that this sweet little redhead was born. And now we are looking the end of her first decade in the eye.

Sigh.

So when this sweet one, who also happens to be mommy’s biggest fan, was asked what she wanted for her birthday cake this year and she replied (with a gleam in her eye) that she “had a challenge” for me, I knew this would be good.

Her requested theme? “A watermelon sleepover”.

So, you know what? The girl got a watermelon sleepover!

The party itself was adorable! Watermelon balloons, plates and favors, along with various other pink, red and green details.

I decided to satisfy my need for a “pretty” cake with the actual cake, and use the decorations to create the sleepover portion of the theme. Since she was only having a couple of friends over and the cake size would need to be small, I opted to put the characters on the board instead of the cake.

I wanted to give my #1 fan an awesome sleepover cake, so I took it one step further and created the hand-modeled characters to actually resemble her best friend and cousin, the two sleepover guests at her party!

The characters are created out of fondant, and I used a brand new (unused) dish scrubber to give a sort of carpet texture to the fondant on the board.

I hand-painted the entire cake itself, and I put together the video tutorial below to show how I created the top watermelon tier!

My sweet girl was so thrilled when she saw her cake! Creating my own kids’ birthday cakes bring me so much joy!

Tools used in this project:

It always amazes me how quickly Valentine’s Day comes after the new year starts! It usually arrives with the surprise of just how much needs to be done to plan for four kids’ worth of Valentines parties, and with that usually with the fact that I did not account for said parties when booking my cake schedule.

However, this year I was able to plan ahead just a bit and create a super fun treat just for fun!

I took a beautiful box of chocolates that I purchased and used it as my inspiration for a cake!

With some fondant, gum paste and edible lace, I was able to create an adorable cake that looks like a box of chocolates.

This would be such a fun gift for any loved one in your life, and such a fun sell to clients looking for a special themed treat!

Due to allergies of the ones I created this for, I stuck with basic inside flavors… but think of the possibilities! Chocolate upon chocolate… maybe even chocolates in your filling!

Please enjoy the video tutorial I created of this cake! If you do get creative with it, I would love to see your photos!

I am quite sure my little loves with enjoy this cake this weekend!

Supplies used in this project:

Here we are again, on a lovely Sunday with a few extra moments (finally!) to write!

It seems that 2017 has so far been about facing my (cake) fears! Which is good! In my life, a fear will nag at me incessantly until I finally stand up and deal with it, so cakes will be no different.

I have dabbled with airbrushing in bits and pieces, while learning to adjust the settings on my airbrush and test out the colors.

I’ve also done an entire white fondant cake into dark colors, such as this style. (This works wonderfully well as a way to avoid black or dark fondant or buttercream!)

I won’t deny that the cake above is really pretty and somewhat impressive looking, but it does come at a price! That would be me, heart pounding, hands shaking, second guessing and panicking.

This week, I once again decided to give another little push at my discomfort towards airbrushing. While I know that I am creative, I feel that I am creative in a structured design aspect as opposed to a wild artist aspect, so painting and things that are more artistic can sometimes throw me a bit. Such is the way with airbrushing. When other cake artists airbrush, I see gorgeous, vibrant colors spraying wildly at a cake and turning it into a stunning canvas of perfectly dispersed color molecules.

But when I airbrush? Ugh… not so much!

However, I do see the potential of an airbrushed cake and I’m determined to at least partially master it.

This week, my biggest project was an electric guitar cake! Not just any electric guitar – the specific one that the birthday boy owned. And it was not just a plain old guitar, but one with a detailed pattern and colors. This one!

I knew right off the bat that some airbrushing was going to be needed. After much brainstorming and mulling it over with my husband (which I do often), I decided to use fondant to create a similar design pattern and airbrush the color to achieve the purple edge effect.

It was not without it’s challenges (never forget that any lumps and bumps in your surface pick up airbrush color), and I am positive there is a purple layer of color dust coating my entire bakery, but it turned out pretty well!

All the tiny edible details were super fun to create. I chose to go with silver floral wire for the strings. I decided that it was more important to me that they look realistic than be completely edible, and I was quite happy with my choice.

Due to the amount of servings needed, I chose to create the neck and head of this guitar out of foam core covered with fondant and other edible elements (please, no angry musicians being mad at me for my lack of guitar knowledge and terminology!) and propped up by clear bubble tea straws (which you can see in this photo).

Oh, and the wooden board that this guitar is sitting on is actually a silver cake drum covered with white fondant and decorated/painted, and you might notice that I use this look quite often on my cake boards. If anyone is interested in learning how I create this, let me know and I will put something together!

I hope this musician had an awesome day!

Supplies used in this project:

Classes you might like:

Some of the most eye-catching photos floating around social media these days include non-edible items made edible. People are fascinated by the ability to turn a regular item into cake! As a cake decorator, it is so fabulously satisfying to have someone say, “I can’t believe that is cake!”

However, when I hear comments such as these, it is usually regarding the smoothness of my fondant or the sharpness of my buttercream edges, as opposed to the realistic quality of my decorations or design. Admittedly, I am a round cake kind of girl. I love a gorgeous round cake with straight sides and sharp edges… tier after tier of traditionally beautiful cakes make me swoon.

But I have to admit… lately I’ve been eyeing the amazing designs of realistic and novelty cakes and wishing I could steal a little bit of that talent!

So… since I’m not the type of person to stay where I am and never move forward, I decided to step a little bit out of my comfort zone for my daughter’s third birthday cake this year. While I think traditionally classic cakes will always be my true love, I did enjoy a bit of carving, shaping and imitating real objects on this one!

My daughter LOVES to color, so we went with a coloring theme! I decided to try to create a coloring book cake!

As I started to create, I got that familiar tingle of excitement and took the idea further, deciding to create a cake that she could actually color on. I found some fabulous printable coloring sheets created by SamanthaBDesign on Etsy and printed them with my edible printer.

And then I became even more ambitious and chose to create the crayon box out of cake as well!

As I was staring at the finished cake at 10:30 p.m. at night (because that’s how my own kids’ cakes always go), I knew that there was no possibility of me being satisfied with this cake if I did not create a couple of edible crayons to embellish the final product.

And then I knew I was done! I loved it! It did not come easy… me carving cake is nothing like those awesome videos you see on YouTube… more like a disaster of cake and frosting and the occasional sweat and tears. But when I finished my design, I was pretty pleased!

The best part was bringing my baby girl to her cake while her daddy covered her eyes, and then seeing her looking around confused and wondering where her cake was! She didn’t realize the coloring set in front of her was her cake! Once we pointed it out to her, she immediately tried to pick up one of the edible crayons to color!

In case you’re wondering, she did color her cake at the party (with edible markers). She loved every minute of it, even coloring so long that part of the cake started to get smooshed!

She wasn’t even sad when we cut into it, because… well… she loves cake. <3

Tools used in this project:

Have you ever created a cake that was a hit… and were then asked to recreate it later on? Me too… often.

I was a hairstylist for 10 years and also did wedding hair for much of that time. Eventually, I gave up the wedding hair part of it for a specific reason. It wasn’t that I didn’t enjoy the updos – I loved them! I would meet with the bride for her practice hair appointment and all would go just swell. Frustratingly, though, I would go to recreate the updo on the wedding day and struggle with it. Every. Single. Time. I felt like the wedding day hair was never as good as the practice hair… but what bride is willing to forgo the practice session? So, I eventually dropped that from my hair menu.

I find that recreating cakes can be the same level of difficulty for me at times. It’s not like I take step by step measurements and notes all along the way, so my colors might turn out slightly different or my sizes may vary. It has taken me some getting used to stepping back and re-entering the initial design mode that allowed me to create the first one.

You might remember this cake:

With it’s soft, hand-painted look and classic appeal, this cake was a blast and a favorite.

I was asked to recreate this cake and was excited to do so! My customer wanted some changes made, however… she wanted this cake turned into a two-tier and with more characters included. Begin the design process once again!

How was I going to tie the beehive at the top in with a two-tier cake, and how was I going to include the characters and the classic storybook sky without having one big open sky tier?

I decided to go with one of my favorite parts of the classic storybook… when Pooh “rides” a balloon up to the beehive in the tree.

Being that this was a birthday cake, I decided to ahead and bring the birthday balloon theme in as well, and as a way to tie the other characters in to the overall theme of the cake.

And of course I included the birthday boy’s name on top.

Overall, I was pleased with this cake!

I could definitely pick on the details… of course I have already. I could be worried that the colors are too vibrant, or that my blue sky sponge effect turned out a bit differently than last time. I could go on.

But this is where I’m going to learn that each cake IS actually a different project, with previous cakes only as inspiration.

Just as we strive to avoid copying another cake designer’s work exactly, I’m going to decide that we should do the same with our own work. I would say Pooh cake 2.0 turned out fabulously, right down to it’s tiny wafer paper bee wings!

Oh, and bonus:

A cute little coordinating smash!

Merry Christmas a few days early, my friends!

Tools used in this project:

While I could definitely get lost in a good stationary store, that is not what this post is about.

I really wanted to talk about the edible kind… frosting sheets! Wafer paper! Because the two make me just as giddy as (if not more than!) a brand new pad of pretty note paper.

Let’s be honest… when you think of edible images, you think of something like this…

edibleimagecake

Source: http://order.cakes.com

(Which is great! And also how grocery stores are able to charge what they do.)

In my time as a cake designer, I have really evolved in my thinking toward edible images and edible ink printers. I have graduated from feeling slightly embarrassed about owning an edible printer (feeling like maybe I am “cheating”) to loving every minute of it and always looking for opportunities to use it.

Why?

Because I have begun seen far beyond the colorful happy birthday sheet cake image, the simple Super Why image and the edible photo of the birthday child. I have seen the endless possibilities and the stunning details to be created using printed images and patterns!

Here is where it all began…

paisleyguitarcakewm

This was one of my first cake orders, and it was a little terrifying! My customer wanted a Brad Paisley guitar cake. I mean, paisley!?!?

But then I had an idea… and did a little online searching before running across the street to our grocery store to have them print this glorious paisley image. And the wow! People were even more impressed than I thought they would be!

So I began to dabble more…

teapartycake

And started to use images and printed patterns to enhance smaller details on my cakes.

hotwheelscakewm

Even going so far as to use printed wafer paper to decoupage, as in the top tier of my July 4th cake!

july4thcakefinal

I literally found an old copy of the Declaration of Independence, printed it on wafer paper and stuck pieces of it all over my cake… and that tier is one of my proudest.

It wasn’t until my polka dot cake that I finally let go of my inner struggles with using this simple medium.

polkadotcake

One of the cake designers that I admire most shared this cake to her page, and I couldn’t help but notice a comment on the post. Another cake decorator said something along the lines of “Well, it doesn’t look very difficult – just printed paper on a cake”. Which is true, and it was what I had been afraid of people thinking when she had first shared it… and her comment left me staring at my computer screen in confusion and embarrassment.

But then the wonderful cake designer replied to the comment. I don’t remember her exact words, but she basically responded that of course it was printed, but that it didn’t matter… and that a person knowing how to use their creativity, tools and resources to create something beautiful that makes people happy is a great talent in itself.

You cannot imagine what this did for me as a cake designer! I felt that I had been freed from everything that held me back from being proud of my cakes. No more secretly wondering if I had much talent beyond my tools. I was able to acknowledge the creativity and talent that it took to come up with an idea, seek out the tools and successfully create the cake. And I felt free to just have fun.

And now I happily seek out opportunities to add these unique touches to my cakes!

twowildcake

I am thrilled to have so many different mediums available to me, and I revel in the time spent discovering new ways to use them.

Cassiesignature

Tools used in this post:

Online classes you might enjoy:

waferflowersclass

waferflower2

waferflowers3

Wow, what a busy week it has been! I feel like I have barely had a moment to breathe, let alone stay on top of my social media and website. Phew!

I just wanted to share a fun woodland-themed baby shower cake that I was able to create this week!

woodlandfoxcake

Although I was exhausted from the 370 cookie order I also had to complete this week, and the cake I created the day before this one, I was able to relax and enjoy almost every moment of the making of this baby shower cake!

You all know that the mention of rustic, woodsy, “messy” type cakes often sends me into a slight bit of panic, but I think I handled this one pretty well!

woodlandfoxtoptier

The sweet little foxes gave me their share of trouble, but my wonderful husband assured me that they did, in fact, look like foxes. Now that is love, right? 😉

That beautiful birch tree tier is an image that I purchased on Etsy and printed as an edible image.

Now let me tell you something about edible images, friends… ain’t no shame in using them! I searched high. and. low. for the perfect image for this cake… I’m talking definitely more than one hour of scouring the internet using every search term I could think of to try to make Google understand my vision. That is not the easy way out, and a perfectly chosen and placed image in the perfect color can be the wow factor on your cake.

The bottom tier was my favorite!

woodlandfoxtrunktier

This tree trunk tier was a first for me also. A woodgrain impression mat, some awesome clay carving tools, and some hershey brown petal dust created this fun, slightly realistic yet slightly cute and whimsical tier.

I was pretty pleased with the final result!

woodlandfoxcake

Leave me a comment with questions about any other details of this cake and I am happy to answer!

Cassiesignature

Tools used in this project:

For some other fabulous tree trunk and bark methods, as well as many other texture tutorials, I recommend this class:

cleanandsimpleclass

Hello, sweet friends!

I am currently in Boston visiting my gorgeous new niece, Elle! She is tiny, sweet and beautiful, and there is no shortage of kisses happening around here!

In the spirit of sweet baby girls, I wanted to share a very pink cake that I created last week!

sweettimescake

Maybe it was the image of my precious niece that I was getting ready to go meet, but I definitely went with my inner girlie on this one!

The bottom tier contained ruffle after ruffle, with the centers dusted a subtle pink.

sweettimesruffles

The second tier was coated with sparkling sugar crystals.

sweettimescakesugar

For the third tier, I went with stripes in a variety of thicknesses and shades of pink.

sweettimescakestripes

The fourth and top tier contained the same sparkling sugar along the bottom edge.

sweettimescaketoptier

Topping the cake was a white ruffled fantasy flower of my own design.

sweettimescakeflower

This cake definitely satisfied my love for feminine things!

sweettimescake

Have a wonderful finish to the week! I know I will!

Cassiesignature