Posts

Two and a half years between blog posts isn’t so bad, is it? (I’ll keep telling myself that).

Hello, my sweet friends! Welcome to my BRAND NEW WEBSITE! Do you love it as much as I do? Please take a moment to poke around! I am so excited for the new look of Cassie’s Confections and hope it is as pleasing to your eyes as it is to mine.

The timing is wonderful, as I have a fantastic cake to share with you all today!

You may or may not have seen this little teaser that I posted on social media last week:
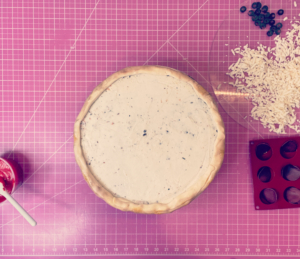
Indeed, I was making a pizza. But don’t let the taste of cheesy, meaty, tomato-y goodness start to fill your mind and your mouth… this pizza was made entirely of cake and sugar!

I am a true pizza lover, just like the little boy I created it for (my son), but I have to say that I was not one bit disappointed as I bit into this deliciousness. I have often found that cakes resembling food or other objects are not quite as tasty, as they are created using tons of fondant and other decorating items from the cake world, and less of cake. But this was *delicious*! It’s a win!

I think we all love a good food cake. Take this one for example, by the talented Laura Loukaides.

AMAZING!

So when I decided to take on a food cake, I knew it was going to have to be as realistic looking as possible. When my goal is realism, I definitely don’t pull up images of what other people create. Instead, I use all REAL images of the item I am creating, and sometimes even the actual item itself. I try to use actual objects or tools that would be used in the making of the real item as well, or at least create a similar effect.

I think my final product definitely achieved what I was going for! The most common comment I heard was “it looks so real!”. Mission accomplished.
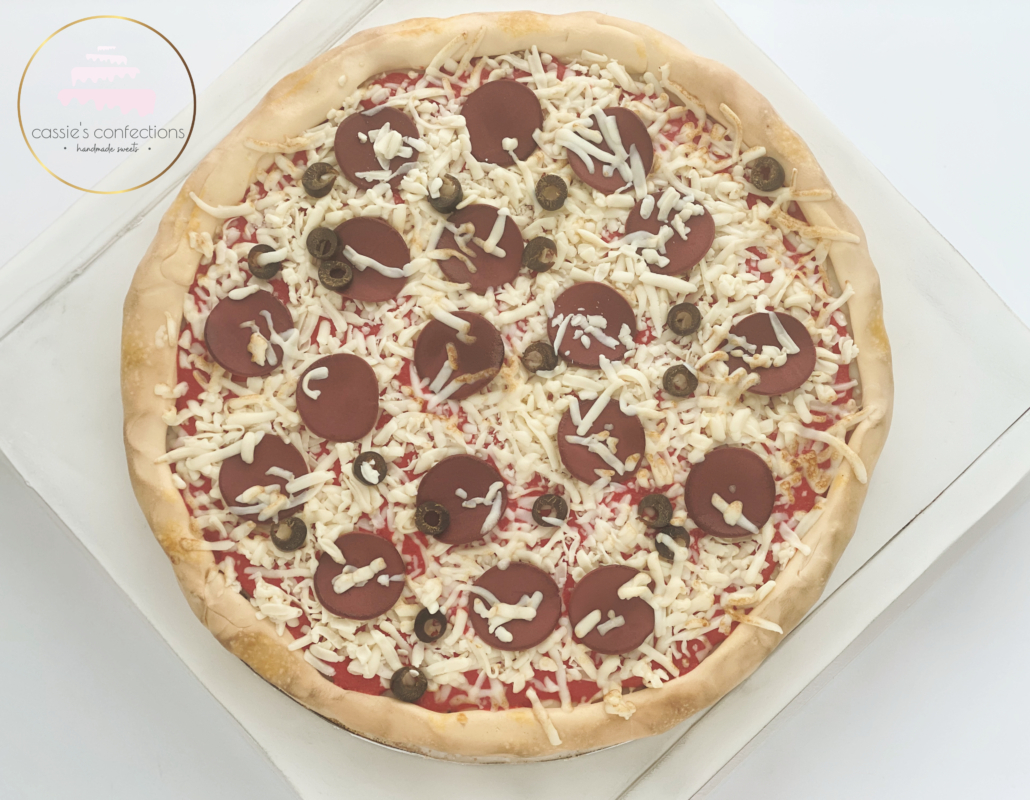
If that doesn’t make you hungry for pizza then I don’t know what will!

The best part about this cake was that, although it was thin enough to look realistic as pizza, it was a thick enough amount of actual cake to be absolutely delicious. The boys devoured it!
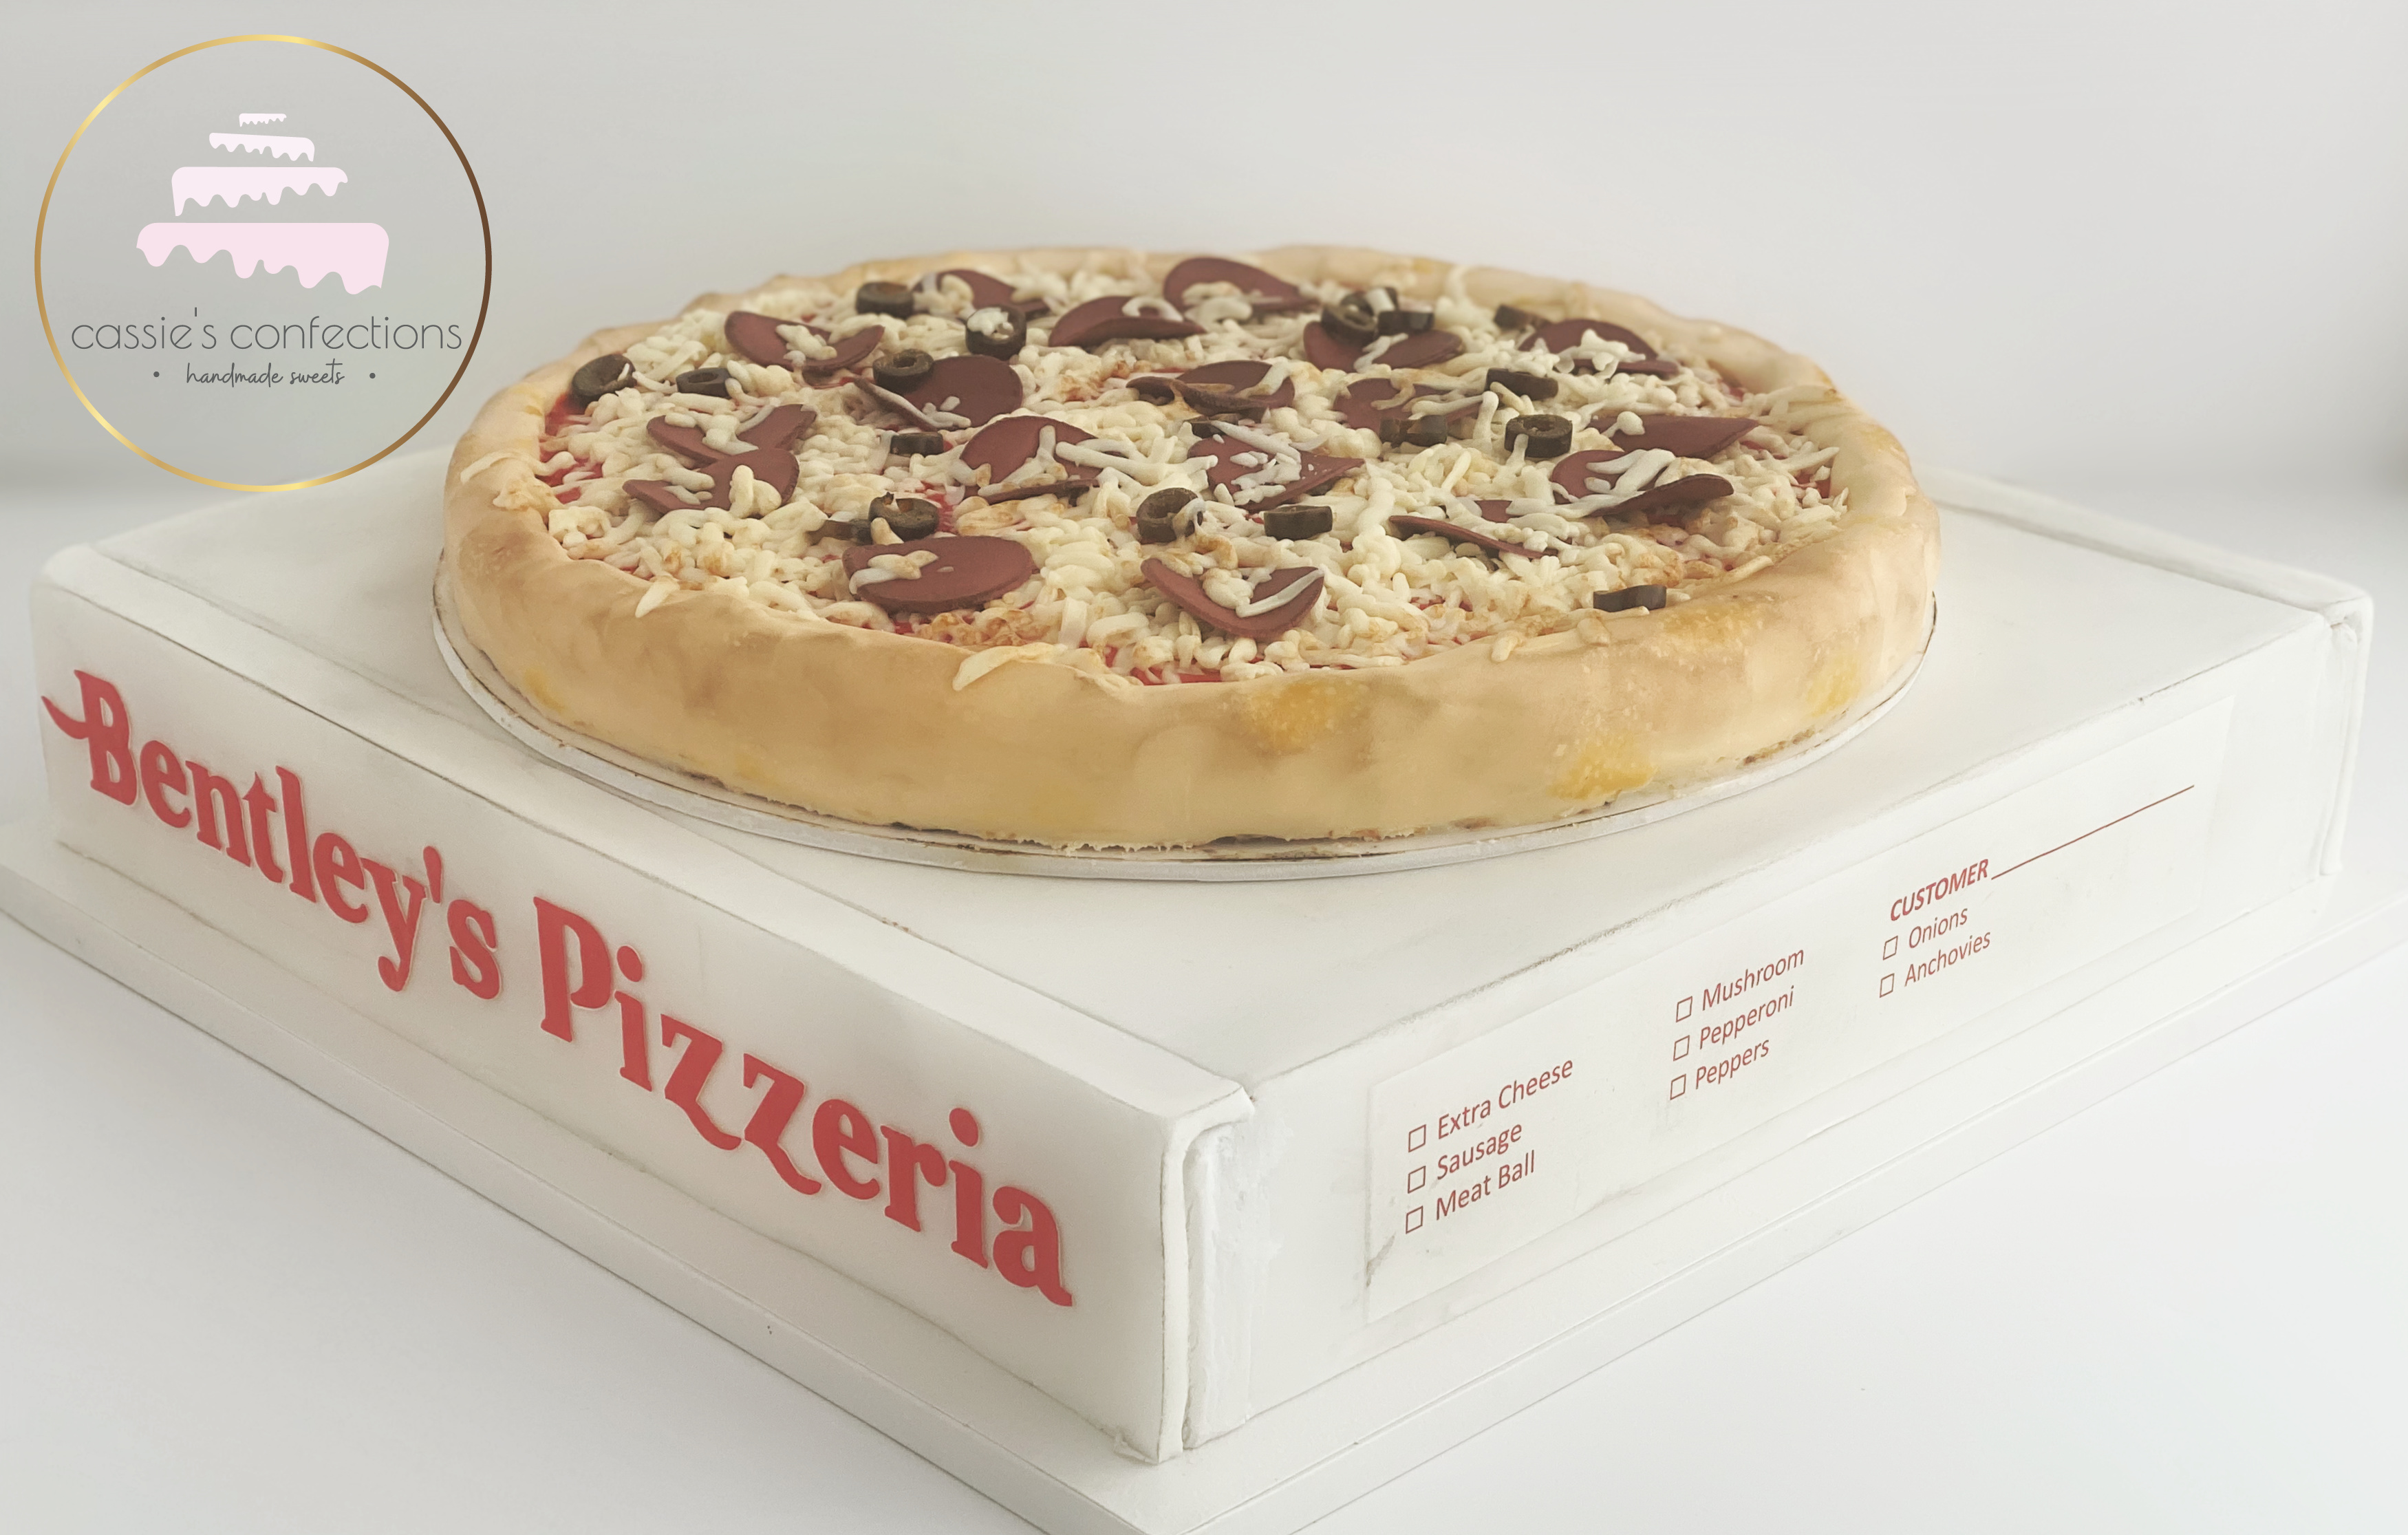
Although the pizza itself was 13″, our party was pretty large, so I decided to make a pizza box cake as well. It included fun touches like the birthday boy’s name and a realistic looking label to select topping choices.

This added such a fun touch to the party! So many people didn’t realize it was cake until it was cutting time. Any idea what sort of tool we might have used to cut the cake?
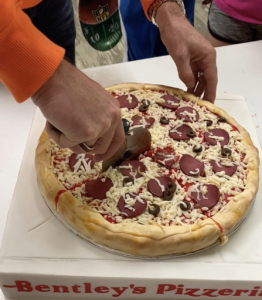
A pizza cutter!
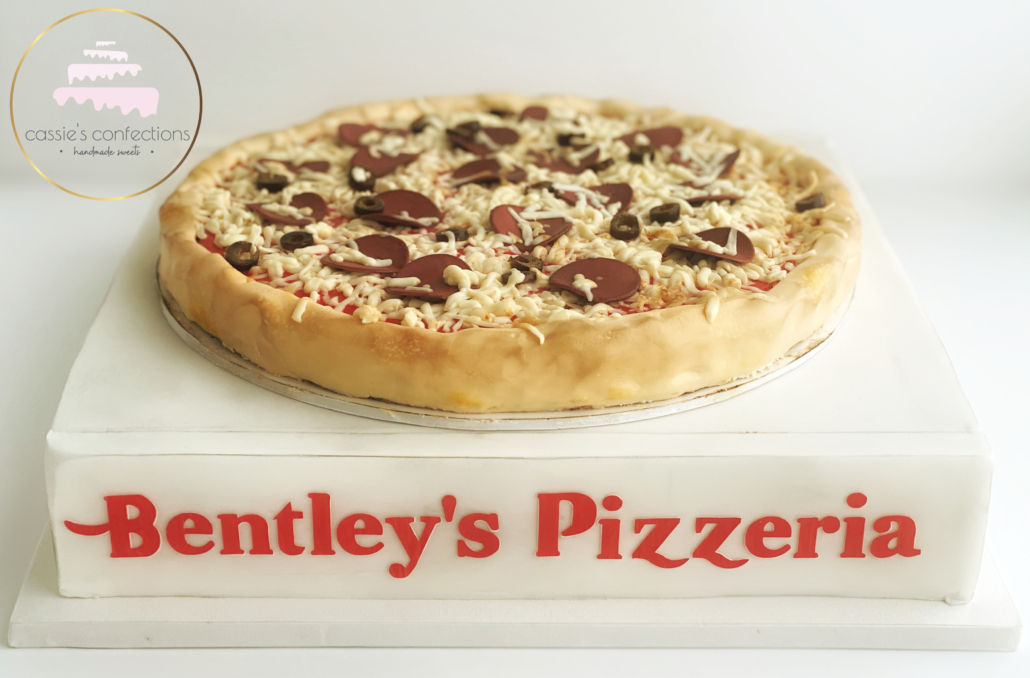
I hope you enjoy this cake! I have created a full tutorial on how to create this simple pizza cake on my YouTube channel. You can also watch it below. 🙂

Thank you so. much for stopping by! Leave me your thoughts in the comment section!

xoxo,

Tools you may need:
Something happened this weekend, you guys… something that I’m still in denial about.

My baby girl, my first born and my oldest daughter turned nine! Nine!?

How is this possible? It truly feels like yesterday that this sweet little redhead was born. And now we are looking the end of her first decade in the eye.

Sigh.

So when this sweet one, who also happens to be mommy’s biggest fan, was asked what she wanted for her birthday cake this year and she replied (with a gleam in her eye) that she “had a challenge” for me, I knew this would be good.

Her requested theme? “A watermelon sleepover”.

So, you know what? The girl got a watermelon sleepover!

The party itself was adorable! Watermelon balloons, plates and favors, along with various other pink, red and green details.

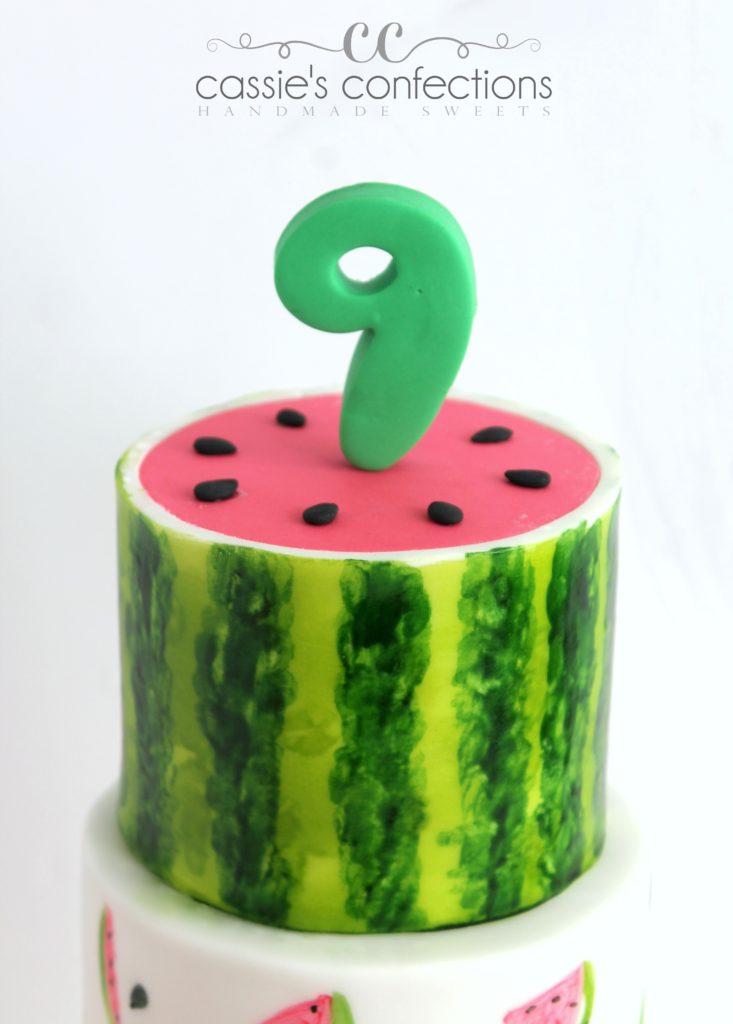
I decided to satisfy my need for a “pretty” cake with the actual cake, and use the decorations to create the sleepover portion of the theme. Since she was only having a couple of friends over and the cake size would need to be small, I opted to put the characters on the board instead of the cake.

I wanted to give my #1 fan an awesome sleepover cake, so I took it one step further and created the hand-modeled characters to actually resemble her best friend and cousin, the two sleepover guests at her party!

The characters are created out of fondant, and I used a brand new (unused) dish scrubber to give a sort of carpet texture to the fondant on the board.

I hand-painted the entire cake itself, and I put together the video tutorial below to show how I created the top watermelon tier!

My sweet girl was so thrilled when she saw her cake! Creating my own kids’ birthday cakes bring me so much joy!

Tools used in this project:

There was once a cake created for no real purpose. Well – ok, it had a purpose: it was for a colorful cake competition (which I ended up not winning).

image

Anyway, I find myself so pained when having to create and decorate a cake with absolutely no event planned for consuming it at the end… so if I must create a cake for decorating purposes only, I find a person to gift it to.

(Bonus: this makes me an often well-liked person!)

In the case of this cake, the competion happened to fall on the week before a quick visit to my brother in Dallas. With no real risk involved (my brother didn’t even know I was bringing it until right before) I decided to attempt to bring the cake as a carry-on on my flight.

image

Friends, you are looking at a double-barrel (7-8 inch double-stacked) cake that survived the drive to the airport, being carried through the entire airport, riding through the security x-Ray machine on the conveyer belt (the security staff only stopped it once, looked confused, asked me what it was and then chuckled, letting it pass), riding the airport train while in my arms, and then – get this – the entire flight to Dallas in the overhead compartment. 

Are you laughing? I still am.

But that wasn’t it! Upon arrival, the cake then survived the Dallas airport and a one-hour trek through Dallas rush hour traffic in the back of my brother’s old 4Runner (with his crazy Dallas driving ;))

When we arrived at his home, I opened the box and…

Perfect!

Enjoy one last photo of my littlest angel wondering why I was planning to go to all that trouble when I could have just left it at home with her and Daddy…

image

Rest assured that I have incredible faith in the durability of my cakes these days!

Cassiesignature

Learn how to create a double-barrel cake here:

image

A couple of weeks ago, I had the most wonderful opportunity to create a vintage airplane birthday cake for an incredibly loved little boy. From the moment his mom sent me a copy of the party invitation, I knew I was going to love this project! And I did… from start to finish.

airplanecakewm

The airplanes on the side of the cake are hand-painted with food coloring. I just love painting on cakes… it is so relaxing and creates such a wonderful look! I especially loved the dreamy clouds on this cake. Every once in a while, there is a project that reminds me of the magic of childhood, and this one did just that!

But of course the element that I enjoyed the most was the adorable airplane cake topper!

airplanetopperwm

This sweet topper was created from gum paste and was nearly all edible (minus the toothpicks). It traveled straight from my imagination to the top of this cake, and I adore it.

So much, in fact, that I created a video of the making of this topper!

Enjoy!

Cassiesignature

A few fabulous tools used in this project:

Craftsy Cake Decorating Class

If you have followed me much at all, you know that I have a love for fondant cakes. I love their gorgeous, smooth appearance. I love the decorating possibilities that a fondant covering allows. I love the ease of creating color, without the use of tons of food coloring.  Most of all, I love the challenge of creating a perfectly smooth, sharp edged fondant cake.

So when I have a client that comes to me requesting a multiple-tiered fondant cake, I am in my true element. Don’t get me wrong, I love a delicious, amazing smelling, smooth buttercream cake just like the rest of you, but fondant and I have found a special place together in my kitchen.

When this sweet lady sent me a photo of a gorgeous hot air balloon cake by the amazingly talented Smash Cakery and asked me to recreate it, I may have started to hyperventilate with excitement just a bit.  Fondant. Pink. Pastels. Buntings. Ruffles. Fluffy white clouds. Oh my.

hotairballooncakefinal

I created the hot air balloon base and balloon out of Rice Krispies Treats. I masked them with chocolate ganache and covered them with fondant. Boy, that last two sentences made it sound way easier than it actually was! Luckily, I expected this to be the case and finished it early in the week. Hardest part: done.  For a special touch, I created the lace look around the top and bottom of the balloon basket by using a clearance craft puncher (that I had picked up a couple of weeks before) on wafer paper. Simple and beautiful! You may notice that I even used some of the leftover cutouts as detail on the balloon.

For the ruffles on the bottom tier, I cut out 1″ strips of fondant and then used my scalpel to cut wavy lines off the top of each strip. I then attached the strips with piping gel. Easy peasy!

If you thought this order couldn’t have gotten any more fun, my client requested coordinating cookies as well!

hotairballooncookieswm

In future posts on this blog, I hope to provide some tutorials on the details of my cakes. I love talking cake!

But for now, enjoy the photos of this cheerful set and let them take you away!

Cassiesignature